

Close your eyes and imagine a kitchen filled with the scent of simmering red wine; garlic; and toasted pine nuts. We are not just making dinner tonight; we are engineering a masterpiece of texture and flavor. When you dive into rolled beef recipes italian style, you are mastering the Braciole or Involtini, a dish where the beef acts as a savory vessel for a complex, aromatic interior. This is the ultimate Sunday gravy centerpiece that transforms humble flank steak into a melt-in-your-mouth luxury. We are going to use specific molecular techniques to ensure your beef stays succulent rather than stringy. Grab your apron and a glass of Chianti; we are about to turn your kitchen into a professional Roman trattoria.
The Gathers:
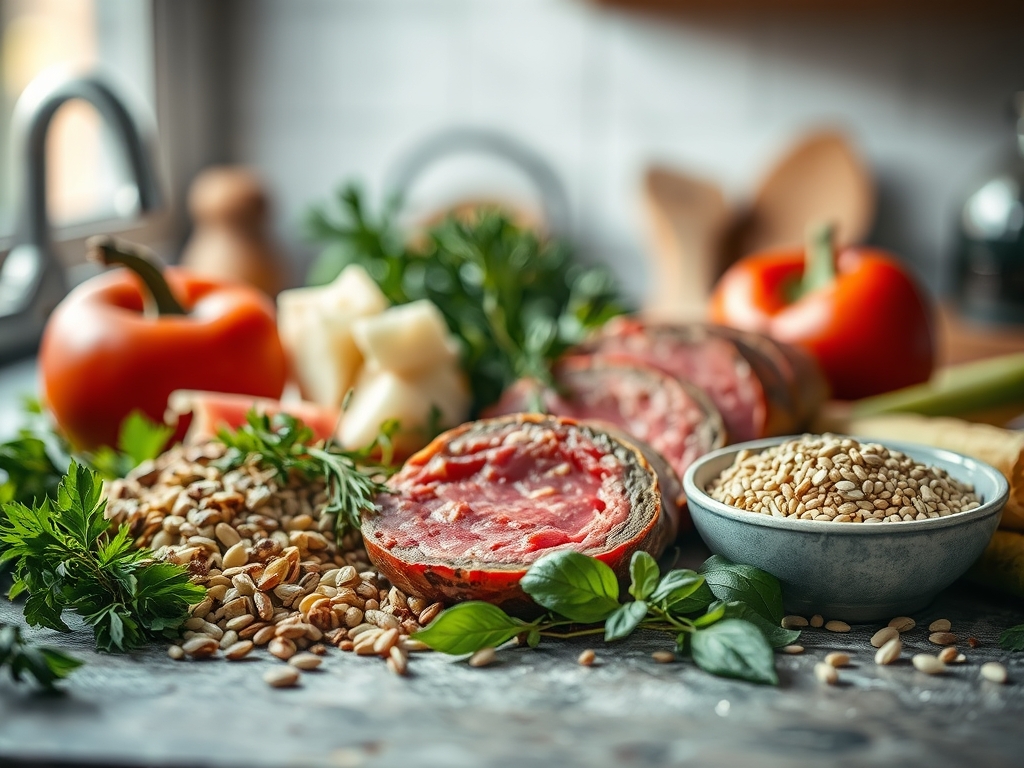
To achieve a professional result, your mise-en-place must be precise. We start with the protein: a two-pound flank steak or top round, sliced thin. You will need a heavy meat mallet to denature the connective tissues and create a uniform thickness. For the filling, gather high-quality Pecorino Romano for that piquant saltiness, toasted pine nuts for lipid richness, and golden raisins to provide a saccharine counterpoint to the savory beef.
Freshness is non-negotiable here. You need flat-leaf parsley, four cloves of garlic pulverized into a paste, and toasted sourdough breadcrumbs to aerate the filling. For the braise, keep a bottle of dry red wine, a jar of San Marzano tomatoes, and beef bone broth nearby.
Smart Substitutions: If you are avoiding gluten, swap the breadcrumbs for crushed pork rinds or almond flour to maintain the structural integrity of the roll. If pine nuts are too pricey, toasted walnuts offer a similar fatty profile. For a leaner profile, you can swap the beef for veal or even pounded turkey breast, though the cooking time will decrease significantly to avoid drying out the leaner fibers.
The Clock
Efficiency in the kitchen is all about the Chef's Flow. Expect about 40 minutes of active prep time, which includes the pounding, stuffing, and tying of the beef. The cook time is where the magic happens; a low and slow simmer for 90 to 120 minutes.
The flow works like this: while your beef is tempering on the counter, you prep your filling. While the rolls are searing in your heavy-bottomed skillet, you can begin your tomato base in a separate saucier. This overlapping timeline ensures that by the time the beef is browned, your braising liquid is already at the perfect temperature to receive it, preventing thermal shock to the meat fibers.
The Masterclass
1. The Mechanical Tenderization
Lay your beef between two sheets of plastic wrap. Use the flat side of a meat mallet to pound the steak to a consistent quarter-inch thickness. This ensures even heat distribution and prevents the meat from curling during the sear.
Pro Tip: This process breaks down the collagen fibers mechanically. By creating a uniform surface area, you ensure that the heat penetrates the center of the roll at the same rate as the exterior, preventing a rubbery texture.
2. Layering the Flavor Profile
Spread your garlic paste, herbs, cheese, and breadcrumbs across the beef, leaving a half-inch border at the edges. Use a microplane to zest a hint of lemon over the top for acidity.
Pro Tip: The breadcrumbs act as a "moisture sponge." As the beef releases juices during the braise, the crumbs absorb the liquid and emulsify with the melting cheese, creating a rich, internal sauce rather than a dry core.
3. The Structural Tie
Roll the beef tightly, like a sleeping bag, and secure it with butcher's twine at one-inch intervals. Use a bench scraper to help lift the meat if it sticks to your work surface.
Pro Tip: Tight tying is essential for the Maillard reaction. A compact roll presents a smooth, even surface to the pan, allowing for better contact and superior browning of the amino acids and sugars on the meat's surface.
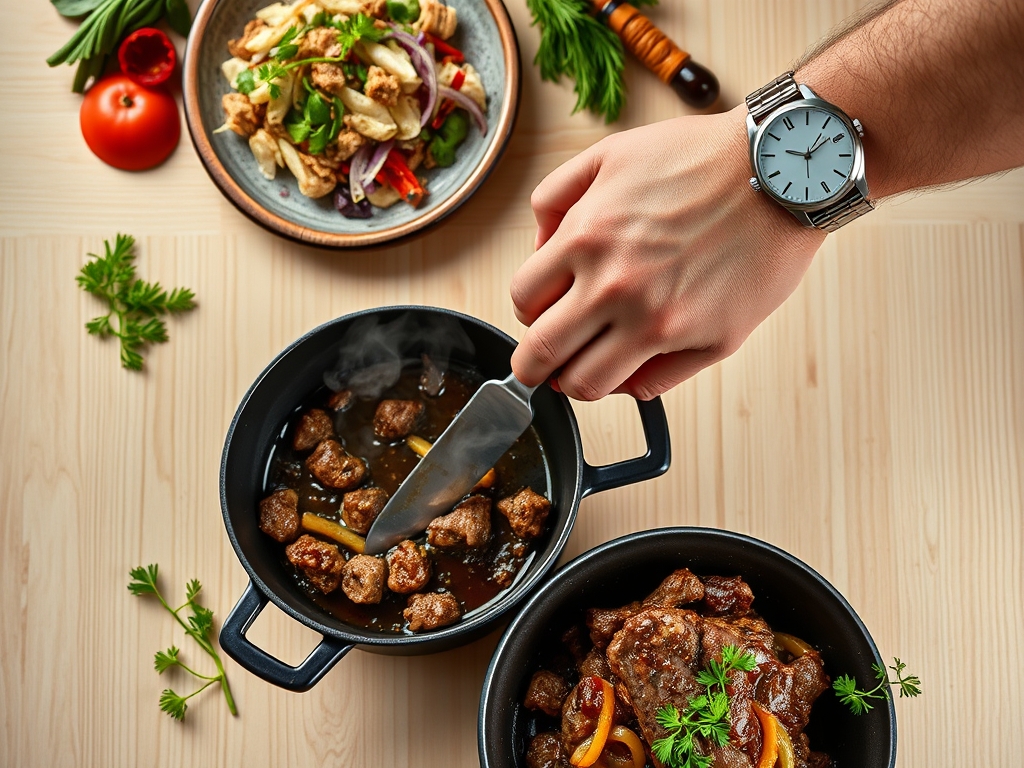
4. The High-Heat Sear
Heat olive oil in a heavy-bottomed skillet until it shimmers. Use tongs to sear the rolls on all sides until a deep brown crust forms. Do not crowd the pan; work in batches if necessary.
Pro Tip: This step is about flavor, not cooking the meat through. The crust creates fond (browned bits) on the bottom of the pan, which will later infuse the entire sauce with deep, caramelized notes.
5. The Deglaze and Simmer
Remove the beef and pour in your red wine. Use a wooden spoon to scrape up the fond. Add your tomatoes and broth, then nestle the beef back into the liquid. Cover and simmer on low.
Pro Tip: Deglazing is a chemical process where the alcohol and heat dissolve the caramelized proteins. This creates a viscous and complex sauce that carries the essence of the seared beef into every spoonful.
6. The Rest and Carve
Once the beef is fork-tender, remove it from the sauce and let it rest for 10 minutes before removing the twine and slicing.
Pro Tip: This allows for thermal carryover and juice redistribution. If you cut it immediately, the internal pressure will force the moisture out, leaving the meat dry. Resting allows the fibers to relax and reabsorb the flavorful braising liquid.
The Deep Dive
From a nutritional standpoint, this dish is a powerhouse of protein and iron. A standard serving contains approximately 350 calories, with 35 grams of protein and 18 grams of fat. To keep it Keto-friendly, simply omit the raisins and breadcrumbs. For a Vegan alternative, you can use large blanched cabbage leaves or thinly sliced eggplant as the "meat" wrapper, stuffed with a mushroom and walnut pate.
The Fix-It:
- Tough Beef: If the meat is chewy, it simply hasn't braised long enough for the collagen to turn into gelatin. Give it another 20 minutes.
- Filling Leaking: You likely rolled too loosely. Use more twine next time or "glue" the edge with a tiny bit of flour paste.
- Acidity Overload: If the sauce is too tart, add a pinch of baking soda to neutralize the pH of the tomatoes without adding sugar.
Meal Prep: To reheat, do not use the microwave; it toughens the proteins. Instead, place the sliced beef in a small pan with a splash of sauce, cover, and warm over low heat. This maintains the hydrolysis of the gelatin, keeping the meat succulent.
The Wrap-Up
You have officially graduated from basic cooking to culinary engineering! Mastering rolled beef recipes italian style is about more than just a meal; it is about understanding how heat, acid, and mechanical force transform simple ingredients into a gourmet experience. Whether you are serving this over creamy polenta or alongside a crisp arugula salad, you now have the technical prowess to impress the most discerning palate. Now, go forth and deglaze with confidence!
The Kitchen Table
Can I use a slow cooker for this recipe?
Yes. After searing the beef in a skillet to trigger the Maillard reaction, transfer everything to a slow cooker. Set it on low for 6 to 8 hours until the beef is tender and the sauce has thickened.
What is the best cut of beef to use?
Flank steak is traditional because its grain runs the length of the roll, making it easy to slice across the grain after cooking. Top round or thin-sliced sirloin tip also work well for a leaner, tender result.
How do I stop the twine from sticking?
Ensure your beef is patted dry before searing. If the twine sticks, it is usually because the meat hasn't finished browning. Once a proper crust forms, the meat will naturally release from the pan surface and the twine.
Can I freeze the beef rolls?
Absolutely. You can freeze them raw after tying, or fully cooked in their sauce. If cooked, the sauce protects the meat from freezer burn. Thaw completely in the refrigerator before reheating gently on the stovetop for best quality.