

Imagine the sound of cold, pink flesh meeting a blistering stainless steel surface. It is a sharp, percussive hiss that signals the start of something transformative. We have all been there, staring at a screen and craving that specific, restaurant quality finish that defines the most popular hellofresh salmon recipes. It is not just about the fish; it is about the chemistry of the sear and the velvety glide of a perfectly emulsified pan sauce. Whether you are a weeknight warrior or a weekend host, mastering these fillets requires more than just following a card. It requires an understanding of how heat interacts with protein fibers and how acidity cuts through lipid density. Today, we are stripping back the mystery and looking at the specific technical secrets that turn a simple piece of seafood into a masterpiece of texture and flavor. We are going to dive deep into the mechanics of the kitchen to ensure every bite is succulent, flaky, and intensely savory.
The Gathers:
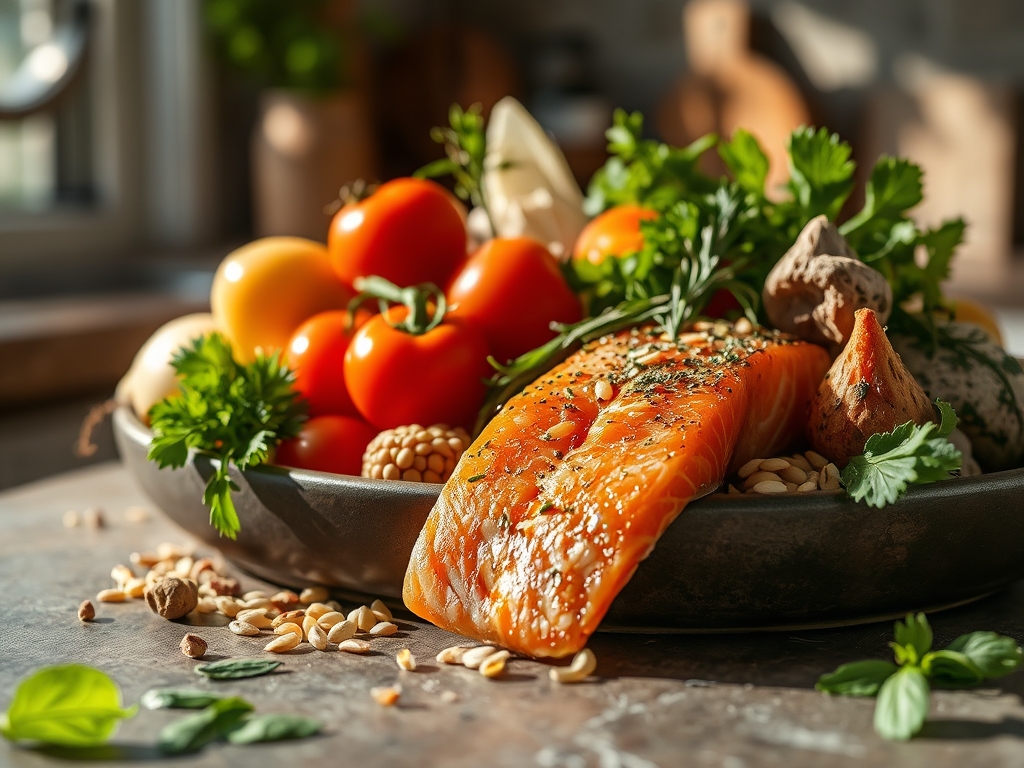
To replicate the high caliber of hellofresh salmon recipes, your mise-en-place must be precise. Start with center-cut fillets, ideally six to seven ounces each. The geometry of the cut matters because uniform thickness ensures even thermal distribution. You will need a high smoke point lipid, such as grapeseed oil or clarified butter, to facilitate the Maillard reaction without scorching. Gather your aromatics: fresh sprigs of thyme, garlic cloves with the skin on to prevent bitter charring, and a bright lemon for zest.
For the sauce, ensure you have a viscous base like heavy cream or a cold knob of unsalted butter to achieve a glossy finish. If you are looking for smart substitutions, swap honey for agave to maintain that piquant sweetness, or use a splash of dry vermouth instead of white wine to deglaze your skillet. Always use a digital scale for your dry spices to maintain flavor consistency.
The Clock
Efficiency in the kitchen is about "Chef's Flow," a state where your movements are synchronized with the heat. Total prep time for these hellofresh salmon recipes usually clocks in at ten minutes, with a cooking window of twelve to fifteen minutes. The secret is the resting period. You must factor in three minutes of off-heat time where the internal temperature stabilizes. If you rush the transition from pan to plate, you lose the essential juices that keep the protein tender. Use a heavy-bottomed skillet to maintain thermal mass, which prevents the temperature from dropping when the cold fish hits the pan.

The Masterclass
1. The Desiccation Ritual
Pat the salmon skin bone-dry using paper towels. Moisture is the enemy of a crisp exterior because water absorbs energy to evaporate, preventing the surface from reaching the 300 degrees Fahrenheit required for browning.
Pro Tip: This is known as surface evaporation. By removing moisture, you allow the heat to immediately begin the Maillard reaction, creating a savory crust rather than steaming the fish.
2. The Cold Start Myth
Always bring your salmon to room temperature for fifteen minutes before it touches the pan. If the center is ice-cold, the exterior will overcook before the interior reaches the target temperature.
Pro Tip: This prevents thermal shock. Gradual temperature increases ensure the muscle fibers do not contract too violently, which preserves the delicate, flaky texture.
3. The Searing Pressure
Place the fish skin-side down in a hot saucier or skillet and press down firmly with a flexible metal spatula for thirty seconds. This prevents the skin from curling as the collagen contracts.
Pro Tip: This technique ensures maximum surface contact. The even application of pressure facilitates conduction, leading to a uniform, glass-like crunch on the skin.
4. The Render and Baste
Once the skin is crisp, flip the fillet and add a knob of butter, smashed garlic, and herbs. Use a large spoon to continuously pour the hot, bubbling fat over the fish.
Pro Tip: This is butter basting or "arrosé." The fat acts as a heat transfer medium that gently cooks the top and sides while infusing the meat with aromatic compounds.
5. The Deglaze Maneuver
Remove the salmon and immediately hit the hot pan with a splash of citrus or stock. Use a bench scraper or whisk to lift the "fond," those delicious brown bits stuck to the bottom.
Pro Tip: This process captures the concentrated flavor of denatured proteins. By adding liquid, you create a steam release that incorporates these solids into a rich, complex sauce.
6. The Emulsion Finish
Whisk in your remaining fat or cream over low heat until the sauce is thick enough to coat the back of a spoon. It should look shiny and opaque.
Pro Tip: This is the science of emulsification. You are suspending fat droplets in water-based liquid. Keep the heat low to prevent the proteins in the butter from "breaking" or separating.
7. The Carryover Rest
Transfer the salmon to a warm plate and let it sit for three minutes before serving.
Pro Tip: Thermal carryover means the internal temperature will rise by about five degrees after you stop cooking. Resting allows the internal juices to redistribute, ensuring the fish is moist from edge to edge.
The Deep Dive
Salmon is a nutritional powerhouse, offering high levels of Omega-3 fatty acids and Vitamin D. A standard serving in hellofresh salmon recipes provides roughly 34 grams of protein and 20 grams of healthy fats. For a Keto version, double the butter sauce and swap starch for roasted cauliflower. For a Vegan alternative, the same searing techniques apply to extra-firm tofu or "salmon" made from marinated carrots.
The Fix-It:
- White Gunk (Albumin): If you see white liquid seeping out, your heat is too high. The muscle fibers are contracting too fast and squeezing out protein. Lower the flame.
- Sticking Skin: You likely tried to flip too early. The fish will naturally release from the pan once the crust is fully formed.
- Soggy Bottom: Never pour your sauce over the crispy skin. Pour it around the base of the fillet to preserve the texture.
Meal Prep: To reheat, avoid the microwave. Use a low oven (275 degrees) with a splash of water covered in foil. This creates a gentle steam environment that prevents the fats from becoming rancid or the texture from turning rubbery.
The Wrap-Up
Creating world-class salmon at home is a balance of heat management and timing. By focusing on the Maillard reaction and the art of the emulsion, you transform a simple ingredient into a luxury experience. Don't be afraid to get that pan screaming hot or to use your tongs with confidence. Cooking is a tactile science, and with these seven secrets, your kitchen will yield results that rival any professional line. Now, grab your microplane, zest that lemon, and get searing!
The Kitchen Table
How do I stop salmon from sticking to the pan?
Ensure the pan and oil are shimmering hot before adding the fish. Pat the skin completely dry. Let the salmon sear undisturbed until it naturally releases; if it resists, the crust hasn't fully formed yet.
What is the best internal temperature for salmon?
For a perfect medium-rare, aim for 125 degrees Fahrenheit. For a firmer, medium texture, go to 135 degrees. Remember that carryover cooking will increase the temperature by about five degrees while the fish rests on the plate.
Can I use frozen salmon for these recipes?
Yes, but thaw it completely in the refrigerator overnight. Moisture is the enemy of a good sear, so use extra paper towels to remove the excess water that frozen fish often releases during the thawing process.
Why does my salmon have white stuff on it?
That white substance is albumin, a protein that pushes out when the fish cooks too quickly or at too high a temperature. To minimize this, cook the salmon gently and avoid overcooking the delicate muscle fibers.
How do I get extra crispy skin?
Use a heavy-bottomed skillet and press the fillet down with a spatula for the first thirty seconds of cooking. This ensures even contact with the heat, allowing the skin to render its fat and crisp up like a cracker.