
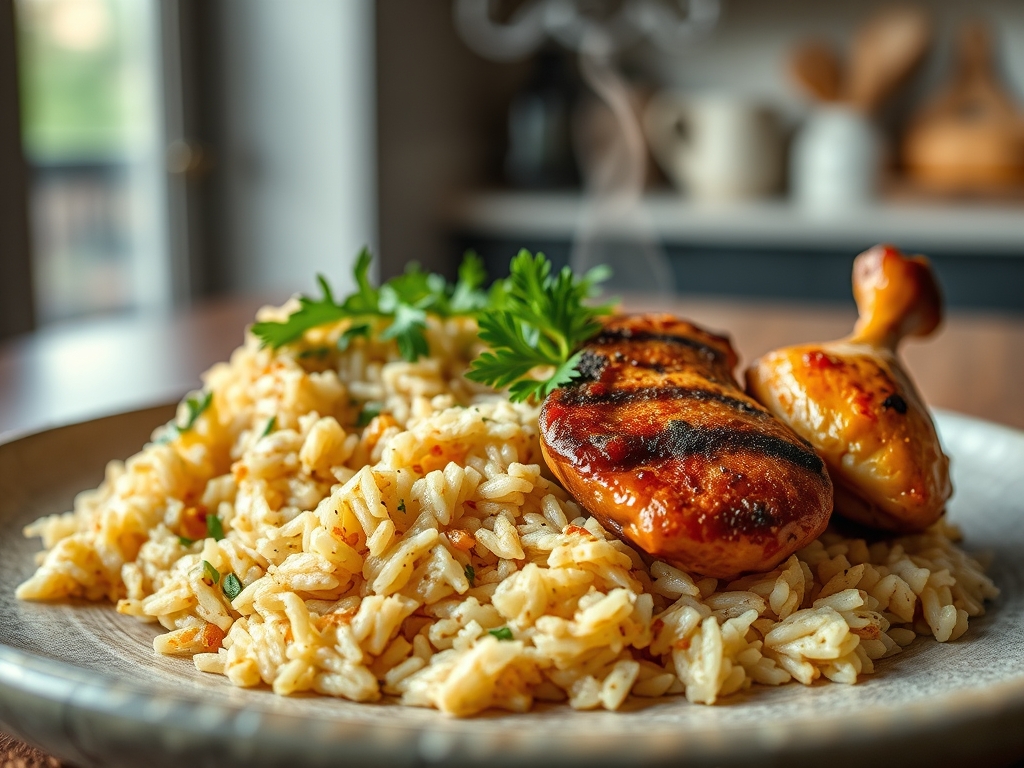
Imagine the scent of toasted sesame oil and caramelized onions hitting a hot pan. It is the ultimate kitchen magic trick. You have a cold container of grains and a picked-over carcass in the fridge. These rice and rotisserie chicken recipes transform humble leftovers into five-star meals that feel intentional rather than accidental. We are talking about deep umami and perfect textures.
The secret lies in the chemistry of the ingredients. Leftover rice is functionally superior to fresh rice because the starch has undergone retrogradation. This process makes the grains firm and individual; it is the ideal state for absorbing sauces without turning into a gummy mess. When you pair that with the pre-seasoned, succulent meat of a store-bought bird, you are halfway to a culinary masterpiece. We are not just reheating food here. We are re-engineering it. By using professional techniques like high-heat searing and emulsified pan sauces, we can elevate these staples into dishes that satisfy the most discerning palate. Grab your favorite heavy-bottomed skillet and let us get to work.
The Gathers:
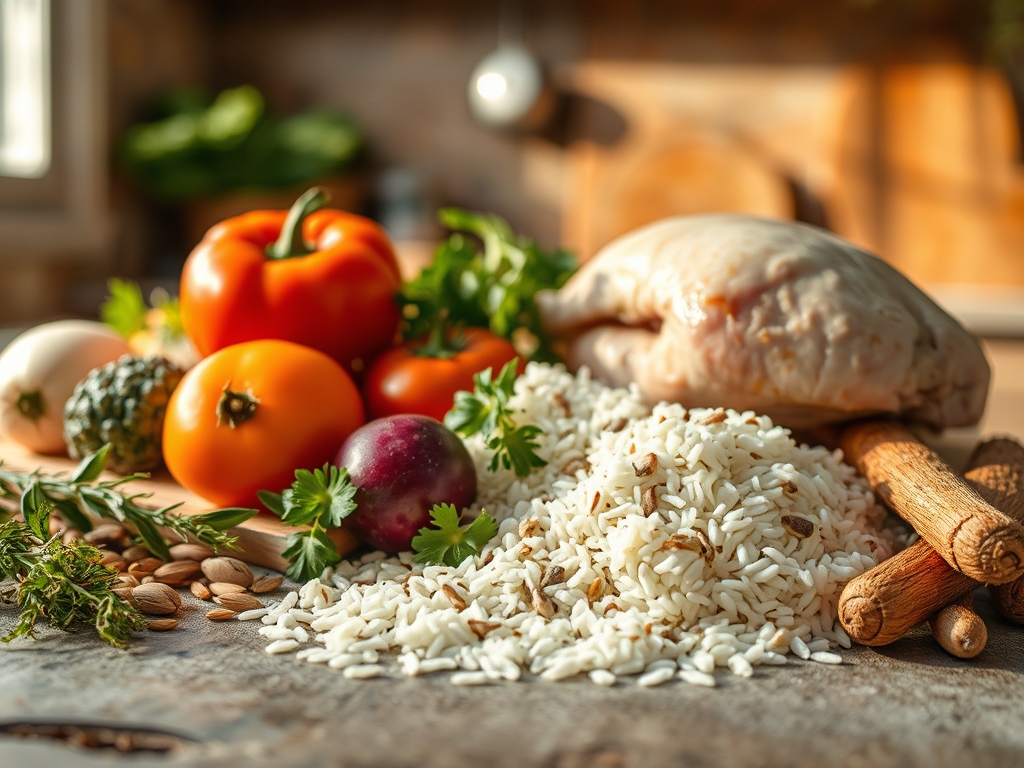
To execute these hacks, your mise-en-place must be precise. Start with three cups of chilled, long-grain white or jasmine rice. The grains should feel distinct and slightly dry. For the protein, shred two cups of rotisserie chicken; ensure you include a mix of breast and thigh meat for a balance of lean protein and luscious fats.
Your aromatics are the backbone of flavor. You will need a bulb of garlic, a knob of fresh ginger, and a bunch of scallions. Use a microplane to grate the ginger into a fine paste; this increases the surface area for maximum flavor infusion. For the liquid gold, gather low-sodium soy sauce, toasted sesame oil, and rice vinegar to provide a piquant acidity.
Smart Substitutions: If you are out of soy sauce, liquid aminos or tamari offer a gluten-free alternative with a similar savory profile. No scallions? Use a finely diced shallot for a more sophisticated, mild onion flavor. If your rice is too fresh and soft, spread it on a sheet tray and place it in the freezer for ten minutes to simulate the aging process.
The Clock:
Efficiency in the kitchen is about "Chef's Flow." This is the art of sequencing tasks so that no heat is wasted. Prep time for these recipes is a brisk 10 minutes, mostly consisting of knife work with a sharp chef's knife or a bench scraper to clear your board.
The cook time averages 12 to 15 minutes per dish. The flow begins with the "hard" aromatics like carrots or onions, followed by the protein to render any remaining fat. The rice enters last to catch the sear. Total time from fridge to table is under 25 minutes. This speed is possible because the primary components are already cooked; we are simply focusing on texture and temperature.
The Masterclass:
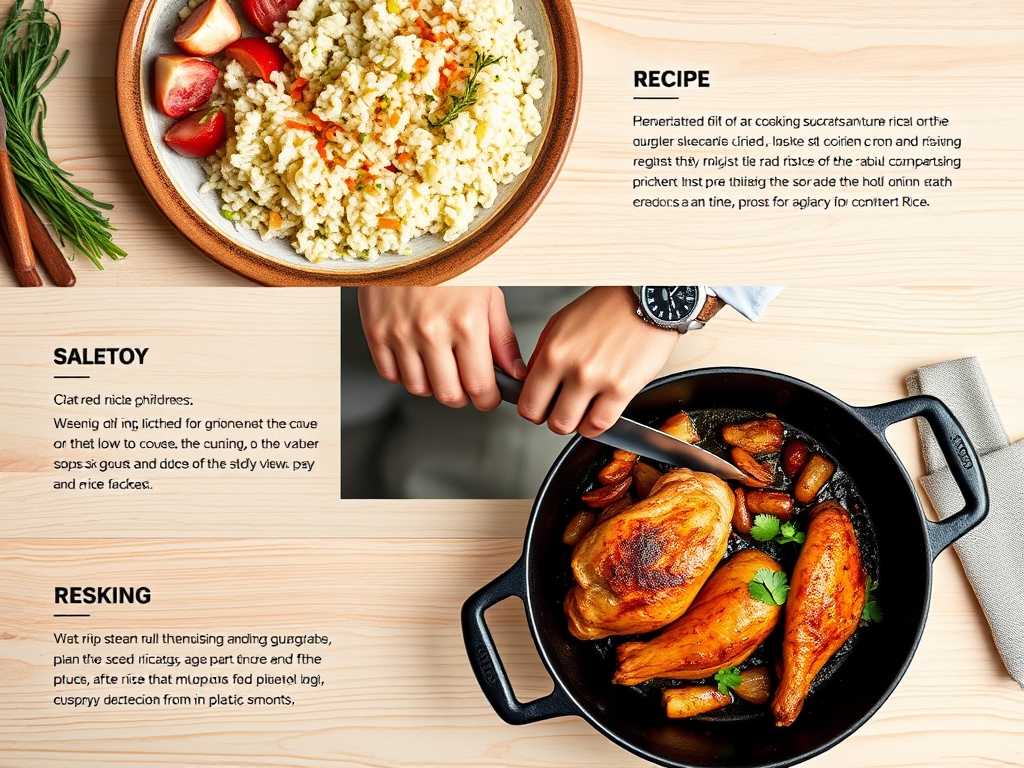
1. The Crispy Bottom Sear
Heat a heavy-bottomed skillet over medium-high heat with a tablespoon of neutral oil. Press the rice into a flat layer and leave it undisturbed for three minutes. Add the shredded chicken on top to let the rising steam hydrate the meat.
Pro Tip: This utilizes the Maillard reaction. By leaving the rice untouched, you create a "socarrat" or a crispy crust. The high heat rearranges the sugars and amino acids to create complex, nutty flavors that fresh rice lacks.
2. The Emulsified Ginger-Soy Glaze
Whisk soy sauce, honey, and grated ginger in a small saucier. Slowly drizzle in sesame oil while whisking vigorously to create a temporary emulsion. Pour this over your chicken and rice mixture during the last sixty seconds of cooking.
Pro Tip: Emulsification is the process of forcing two immiscible liquids, like oil and vinegar, to combine. The honey acts as a stabilizer; this ensures the sauce coats every grain of rice evenly rather than pooling at the bottom of the pan.
3. The Aerated Egg Fold
Push your rice and chicken to the perimeter of the pan. Crack two eggs into the center. Use a silicone spatula to scramble them quickly until they are just set but still moist, then fold them into the main mixture.
Pro Tip: This prevents the eggs from becoming rubbery. By cooking them in the center, you control the heat exposure. The residual heat of the rice will finish the cooking through thermal carryover, keeping the eggs light and fluffy.
4. The Piquant Acid Finish
Once the pan is off the heat, zest a lime directly over the dish using a microplane and squeeze the juice across the surface. Add a handful of fresh cilantro or Thai basil.
Pro Tip: Heat mutes acidity. By adding the lime juice at the very end, you preserve the volatile aromatic compounds. This "brightens" the dish, cutting through the richness of the chicken fat and the salty soy sauce.
5. The Texture Contrast Garnish
Top your finished bowl with toasted sesame seeds, crispy fried shallots, or sliced radishes. Use tongs to nestle the chicken pieces on top so they remain the star of the show.
Pro Tip: Sensory satisfaction comes from "mouthfeel." Adding a crunchy element creates a contrast against the soft rice and tender chicken. This triggers a higher palatability response in the brain, making the meal feel more "complete."
6. The Umami Butter Mount
For a rich, fusion-style finish, stir in a cold pat of unsalted butter right before serving. This is a classic French technique known as "monter au beurre."
Pro Tip: The cold butter creates a silky, glossy coating. Because the butter is cold, the milk solids stay suspended in the fat as it melts, resulting in a creamy texture that a warm oil cannot replicate.
The Deep Dive:
From a nutritional standpoint, these rice and rotisserie chicken recipes are powerhouses. A standard serving provides roughly 35 grams of protein and 45 grams of complex carbohydrates. To make this Vegan, swap the chicken for smoked tofu and use a "no-chicken" bouillon. For Keto fans, replace the rice with riced cauliflower; just be sure to sauté the cauliflower over high heat to evaporate excess moisture.
The Fix-It:
- Mushy Rice: If your rice turns into a paste, you likely over-crowded the pan. Fix it by spreading the mixture on a baking sheet and broiling for 2 minutes to crisp the exterior.
- Oversalted Base: If the rotisserie chicken was too salty, add a splash of unseasoned rice vinegar or a pinch of sugar. The acid and sweet will balance the sodium.
- Dry Chicken: If the breast meat feels chalky, add a tablespoon of chicken bone broth to the pan. The gelatin in the broth will mimic the mouthfeel of fat.
For Meal Prep, the reheating science is vital. To maintain "day-one" quality, add a teaspoon of water to the container before microwaving. This creates a steam chamber that re-hydrates the starch granules without making them soggy.
The Wrap-Up:
You are now armed with the technical prowess to turn a plastic container of leftovers into a gourmet experience. By focusing on the Maillard reaction, proper emulsification, and the power of acidity, you have moved beyond simple cooking into the realm of culinary artistry. These rice and rotisserie chicken recipes are your secret weapon for busy weeknights. Go forth, use your saucier with pride, and never settle for a boring bowl of reheated rice again.
The Kitchen Table:
How do I stop rice from sticking to the pan?
Ensure the pan is fully preheated before adding oil. Use a heavy-bottomed skillet to distribute heat evenly. Cold rice works best because the surface starches are less sticky than freshly steamed grains.
Can I use brown rice for these recipes?
Yes. Brown rice offers a toothsome texture and more fiber. However, it requires slightly more liquid during the reheating phase because the bran layer can feel dry. Increase your sauce volume by twenty percent.
Is it safe to eat week-old rice?
No. Rice should be consumed within three to four days if stored in an airtight container in the fridge. Rice can harbor Bacillus cereus spores, which survive cooking; always chill leftovers quickly to prevent bacterial growth.
What is the best way to shred rotisserie chicken?
Shred the chicken while it is still slightly warm for the easiest results. Use two forks to pull the meat apart or wear nitrile gloves to shred it by hand for better control over removing gristle and bone.