
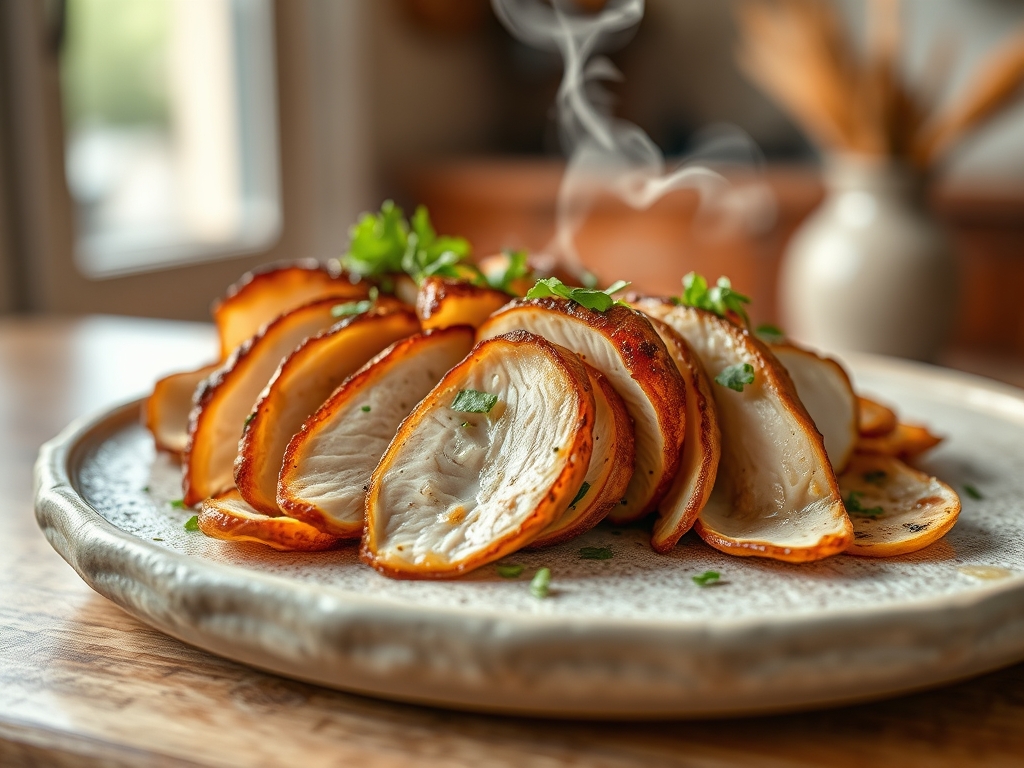
Picture the scene in your kitchen on a Tuesday night. The air smells of garlic and butter; the sound of a high-heat sear provides the soundtrack to your evening. When you master thin sliced chicken recipes, you unlock the secret to a ten minute dinner that tastes like a four hour labor of love. It is the ultimate culinary shortcut for the modern, hungry professional.
We have all been there. You are staring at a massive, woody chicken breast that takes twenty minutes to cook through, only to end up with the texture of a yoga mat. Thin slicing changes the physics of the pan. By increasing the surface area, you invite the Maillard reaction to play a larger role in every single bite. This chemical process is where amino acids and reducing sugars transform into that golden, savory crust we crave. It is not just about speed; it is about maximizing flavor density through heat. Today, we are going to dive into the molecular magic of the quick sear and the art of the perfect cut.
The Gathers:
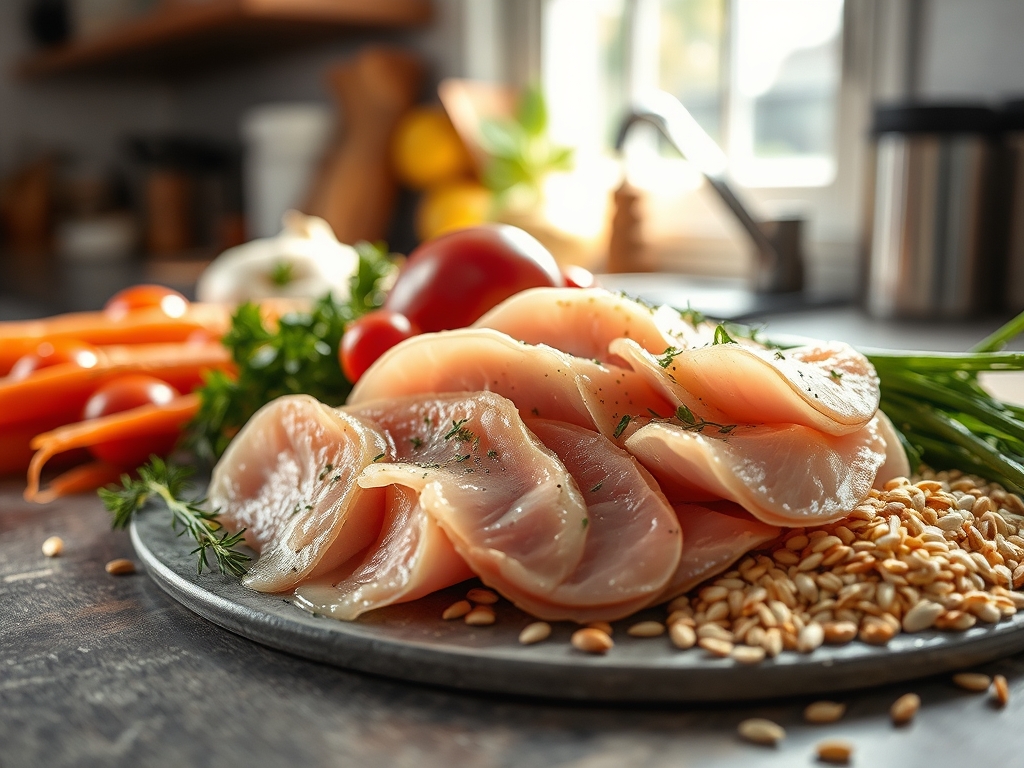
Before we touch the stove, we must respect the mise-en-place. Your station should look like a laboratory of flavor. Start with high-quality poultry, preferably air-chilled to ensure the protein fibers are not bloated with excess water. This prevents the chicken from steaming in its own juices. You will need a heavy-bottomed skillet, preferably cast iron or stainless steel, to maintain thermal mass when the cold meat hits the surface.
The Essentials:
- The Protein: 1.5 lbs of chicken breast or thighs, sliced to exactly one quarter inch thickness.
- The Fat: A high-smoke point oil like avocado oil or clarified butter (ghee) to prevent acrid flavors at 400 degrees Fahrenheit.
- The Aromatics: Fresh garlic, shallots, and herbs like thyme or rosemary.
- The Deglazing Liquid: A piquant dry white wine or a viscous, gelatin-rich chicken stock.
Smart Substitutions:
If you are avoiding dairy, swap butter for a neutral coconut oil or a rich extra virgin olive oil added at the very end to preserve its volatile aromatics. For a soy-free umami boost, use coconut aminos instead of shoyu. If you find yourself without a sharp chef knife, use a semi-frozen breast and a serrated blade to get those paper-thin strips without tearing the delicate tissue.
The Clock: Mastering the Chef's Flow
Efficiency in the kitchen is about managing the "Chef's Flow." This is the sequence of operations that ensures nothing sits getting cold while you are still chopping parsley. For thin sliced chicken recipes, the prep-to-plate ratio is skewed heavily toward the prep.
- Prep Time: 15 minutes. This includes slicing, patting the meat dry (essential for browning), and measuring your liquids.
- Cook Time: 6 to 8 minutes. Because the meat is thin, it cooks in a flash.
- Resting Time: 3 minutes. Never skip this. It allows the muscle fibers to relax and reabsorb the internal moisture.
The "Flow" dictates that you start your side dishes first. If you are serving this over pasta or rice, those should be nearly finished before the chicken even touches the pan. The chicken is the headliner; it demands your undivided attention for those few minutes of intense heat.
The Masterclass: 10 Steps to Perfection
1. The Surface Prep
Use a digital scale to portion your meat and a paper towel to remove every trace of surface moisture. Moisture is the enemy of the sear.
Pro Tip: This is about Evaporative Cooling. If the surface is wet, the energy from the pan goes into boiling the water rather than browning the meat.
2. The Uniform Slice
Place the chicken on a stable cutting board and use a bench scraper to clear space. Slice against the grain to shorten the protein fibers.
Pro Tip: Shortening the fibers ensures a tender "snap" rather than a rubbery chew; this is known as Mechanical Tenderization.
3. The Seasoning Bridge
Season with kosher salt from a height of ten inches to ensure even distribution. Add a dusting of cornstarch or flour for a crispier exterior.
Pro Tip: Salt acts as a denaturant, breaking down some of the tightly wound proteins so they can hold onto more moisture during cooking.
4. The Thermal Charge
Heat your heavy-bottomed skillet until the oil shimmers and just begins to wisps of smoke appear.
Pro Tip: High Thermal Mass prevents the pan temperature from dropping too low when you add the cold meat, ensuring an immediate sear.
5. The Strategic Placement
Lay the chicken pieces away from you to avoid oil splatter. Do not overcrowd the pan; leave at least a half-inch of space between pieces.
Pro Tip: Overcrowding leads to Steam Saturation, where the released moisture cannot escape, resulting in gray, boiled-looking meat.
6. The Maillard Wait
Resist the urge to move the chicken for the first two minutes. Use tongs to lift a corner; if it sticks, it is not ready to flip.
Pro Tip: This is the Maillard Reaction in real-time. The meat will naturally release from the pan once the crust has formed.
7. The Flip and Butter Baste
Flip the chicken and immediately add a knob of butter and crushed garlic. Use a large spoon to bathe the chicken in the foaming fat.
Pro Tip: Basting introduces fat-soluble flavor compounds from the aromatics directly into the protein's surface.
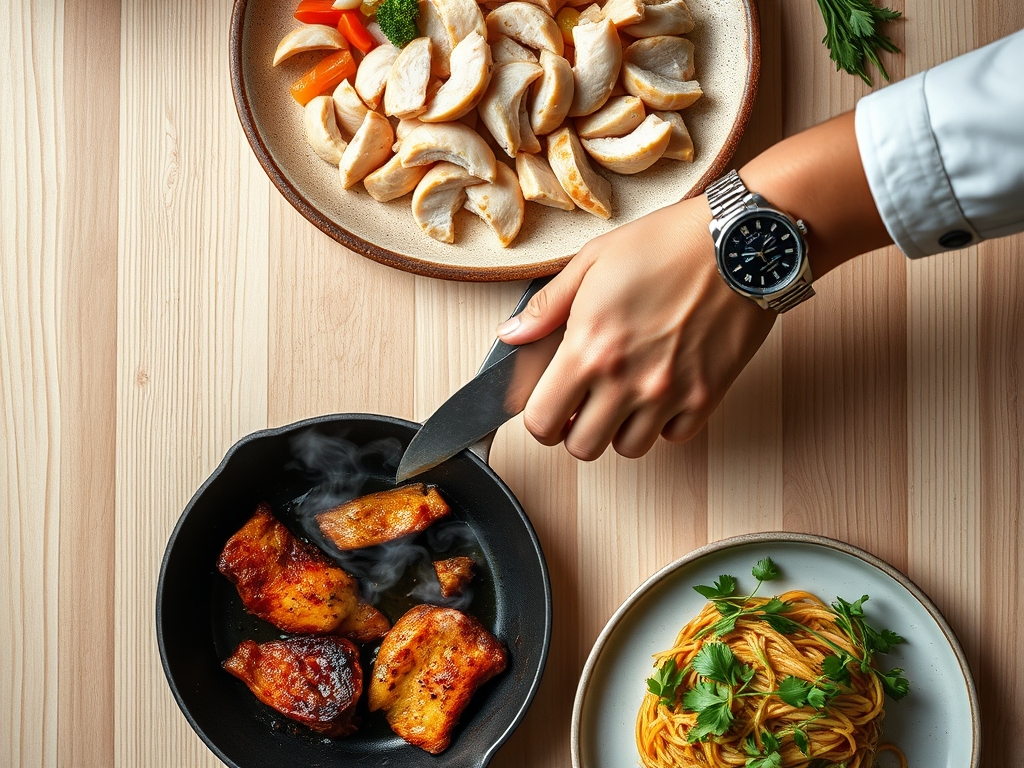
8. The Deglaze
Once the chicken hits 160 degrees Fahrenheit, remove it to a warm plate. Pour wine or stock into the pan, scraping the brown bits (fond) with a wooden spoon.
Pro Tip: The Fond is a concentrated treasure trove of flavor molecules that creates a complex, professional-grade sauce in seconds.
9. The Emulsification
Whisk in a cold pat of butter or a splash of heavy cream into the reducing sauce until it becomes glossy and thick.
Pro Tip: This creates a Stable Emulsion, where fat and water-based liquids bind together for a luxurious mouthfeel.
10. The Carryover Rest
Pour the sauce over the chicken and let it sit for three minutes before serving.
Pro Tip: Thermal Carryover will bring the internal temperature up to the safe 165 degrees Fahrenheit without overcooking the delicate edges.
The Deep Dive: Nutrition and Troubleshooting
When we look at the macro profile of thin sliced chicken recipes, we are looking at a powerhouse of lean protein. A standard 4-ounce serving provides roughly 26 grams of protein with minimal fat, making it a favorite for those tracking macros.
Dietary Swaps:
- Keto: Use heavy cream and parmesan for the sauce; omit the flour dusting.
- Vegan: This technique works beautifully with sliced seitan or extra-firm tofu pressed to remove moisture.
- Gluten-Free: Use arrowroot powder or rice flour for that signature crispy coating.
The Fix-It: Common Pitfalls
- The Chicken is Dry: You likely skipped the rest or cooked it past 165 degrees. Use a digital thermometer every time.
- The Coating is Soggy: The pan wasn't hot enough, or you put a lid on it. Never cover searing meat.
- The Sauce is Broken: If your sauce looks oily and separated, whisk in a teaspoon of warm water or stock to re-emulsify the fats.
Meal Prep Science:
To reheat thin chicken without it turning into leather, avoid the microwave. Instead, use a saucier to gently warm a few tablespoons of stock, then add the chicken just until heated through. This "low and slow" approach prevents the proteins from tightening up and squeezing out their juices.
The Wrap-Up
Mastering thin sliced chicken recipes is like learning a magic trick that actually feeds people. It is the intersection of physics, chemistry, and pure culinary joy. By focusing on surface area, moisture control, and the power of the deglaze, you elevate a humble ingredient into a gourmet experience. Now, grab your favorite skillet and get searing!
The Kitchen Table: FAQs
How do I slice chicken thin without it falling apart?
Place the chicken in the freezer for 20 minutes before slicing. The cold firms the fats and proteins, allowing your knife to glide through for uniform, professional cuts without any tearing or jagged edges.
Can I use chicken thighs for these recipes?
Absolutely. Thighs have more connective tissue and fat, making them more forgiving. They require a slightly longer sear to render the fat, but the result is a richer, more succulent bite than breast meat.
What is the best oil for searing chicken?
Choose an oil with a high smoke point like avocado, grapeseed, or canola oil. Avoid extra virgin olive oil for the initial high-heat sear, as it can burn and become bitter at high temperatures.
Why does my chicken stick to the stainless steel pan?
Sticking usually happens because the pan wasn't hot enough or you tried to flip the meat too early. Wait for the protein to naturally release once the golden-brown crust has fully developed.
Is it safe to eat chicken cooked so quickly?
Yes, as long as it reaches an internal temperature of 165 degrees Fahrenheit. Because the meat is thin, the heat penetrates to the center almost instantly, making it safe and delicious in record time.