
Imagine the sound of a high-frequency sizzle hitting a heavy-bottomed skillet. It is the definitive anthem of a kitchen that knows what it is doing. We have all been there; staring at a plate of beige, rubbery poultry that tastes more like a chore than a meal. But the world of pan seared chicken recipes is actually a playground of molecular physics and sensory delight. When you master the sear, you are not just cooking dinner; you are orchestrating a complex series of chemical reactions that transform a humble protein into a gold-crusted masterpiece. We are going to dive deep into the mechanics of heat, fat, and timing to ensure your kitchen smells like a five-star bistro tonight. Grab your favorite apron and a glass of something crisp; we are about to turn you into the resident protein expert of your social circle.
The Gathers:
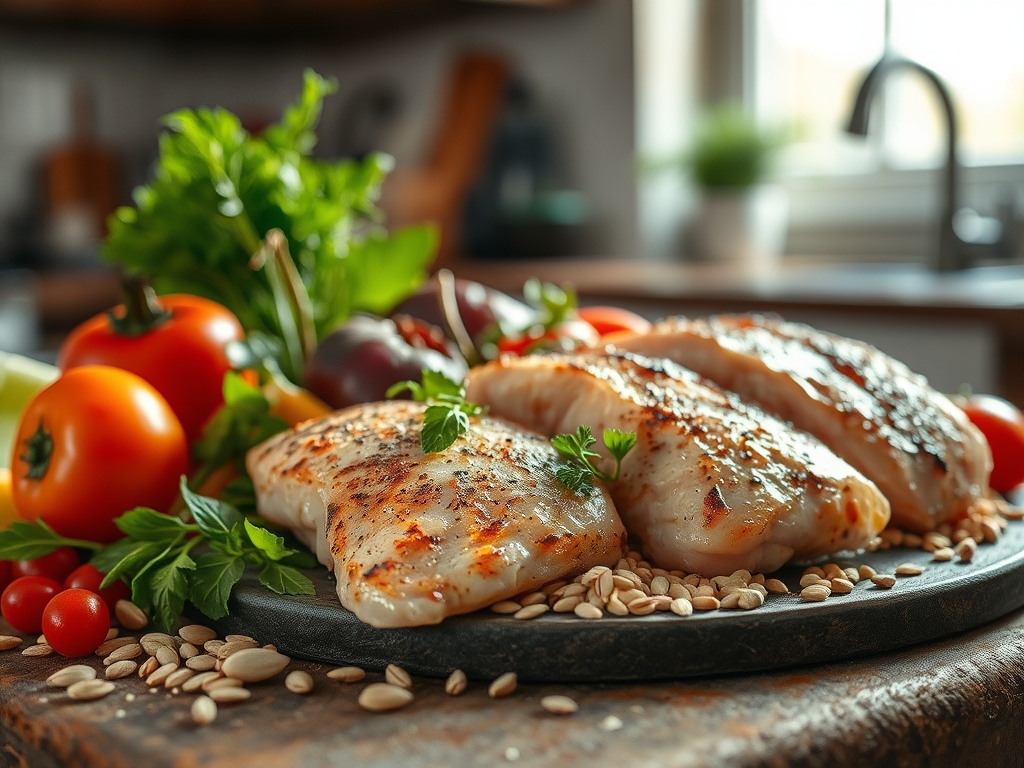
To achieve a restaurant-grade finish, your mise-en-place must be precise. Start with high-quality chicken breasts or thighs, ideally air-chilled to minimize excess water content that leads to steaming rather than searing. You will need a high-smoke-point fat, such as avocado oil or clarified butter, to handle the intense thermal energy. For seasoning, use a digital scale to ensure a 1.5 percent salt-to-weight ratio; this ensures deep cellular seasoning without over-salting. Fresh aromatics like thyme, rosemary, and garlic cloves are essential for the final basting phase.
Smart Substitutions: If you are avoiding dairy, swap the finishing butter for a high-quality duck fat or a viscous extra virgin olive oil added at the very end to preserve its delicate flavor profile. For a piquant twist, use a microplane to zest a lemon directly over the resting meat; the volatile oils in the zest provide a bright contrast to the rich, rendered fats.
The Clock
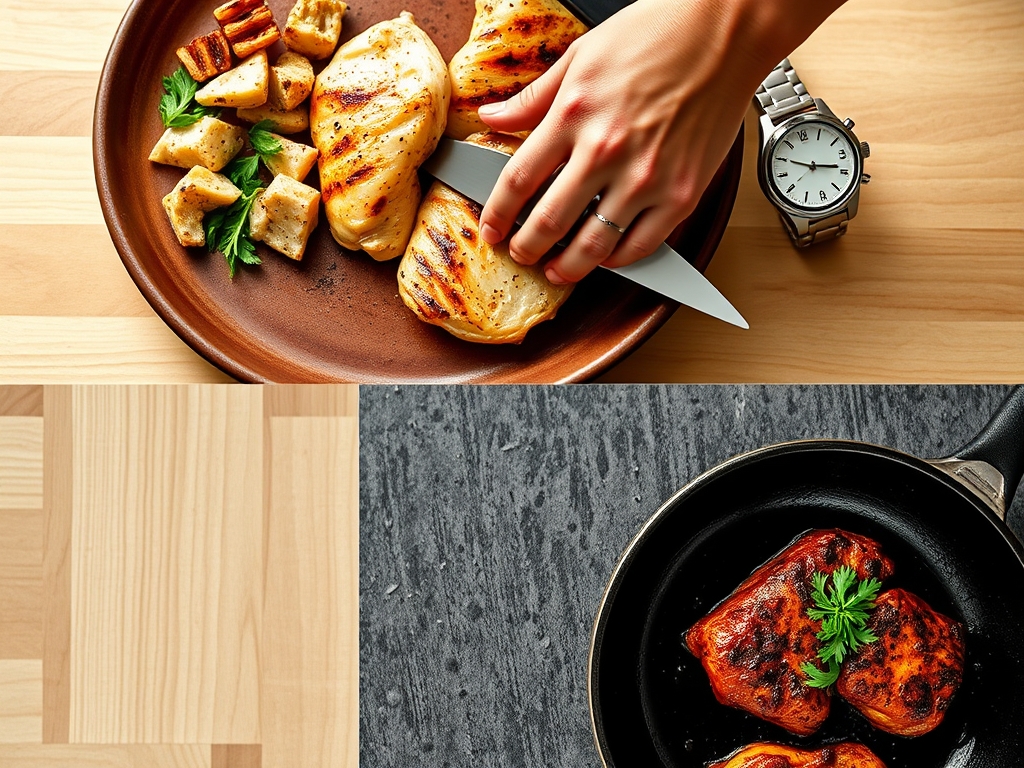
The "Chef's Flow" is all about managing momentum. Preparation takes approximately 15 minutes, primarily focused on tempering the meat and ensuring it is bone-dry. The actual cooking time spans 12 to 18 minutes depending on the thickness of the cut. However, the most critical part of the clock is the 10-minute rest period. Total time from fridge to table is roughly 45 minutes. This cadence allows the proteins to relax and the internal juices to redistribute, ensuring that your first slice does not result in a puddle of lost flavor on the cutting board.
The Masterclass
1. The Tempering and Drying Phase
Remove your chicken from the refrigerator at least 20 minutes before cooking. Use a paper towel to pat the surface until it is completely matte. Moisture is the enemy of the sear because energy will be wasted evaporating water rather than browning the meat.
Pro Tip: This is the science of evaporative cooling. If the surface is wet, the temperature cannot rise above 212 degrees Fahrenheit, which is the boiling point of water. You need the surface to hit 300 degrees Fahrenheit to trigger the Maillard reaction.
2. The Seasoning Architecture
Apply your salt and pepper from a height of twelve inches to ensure even distribution. Do not just season the tops; get the edges and the underside. Use a bench scraper to tidy up your station afterward, keeping your workspace clinical and efficient.
Pro Tip: Salt acts as a denaturant, breaking down tightly wound protein strands. This allows the meat to retain more moisture during the high-heat cooking process, resulting in a more tender bite.
3. The Initial Sear
Heat your heavy-bottomed skillet (cast iron or stainless steel) until the oil shimmers and just begins to wisps of smoke. Lay the chicken away from you to avoid oil splatter. Use tongs to press the meat down briefly to ensure total surface contact.
Pro Tip: This stage utilizes conduction, the direct transfer of heat from the pan to the protein. Maintaining high pressure for the first thirty seconds prevents the meat from curling as the muscle fibers contract.
4. The Flip and Fond Development
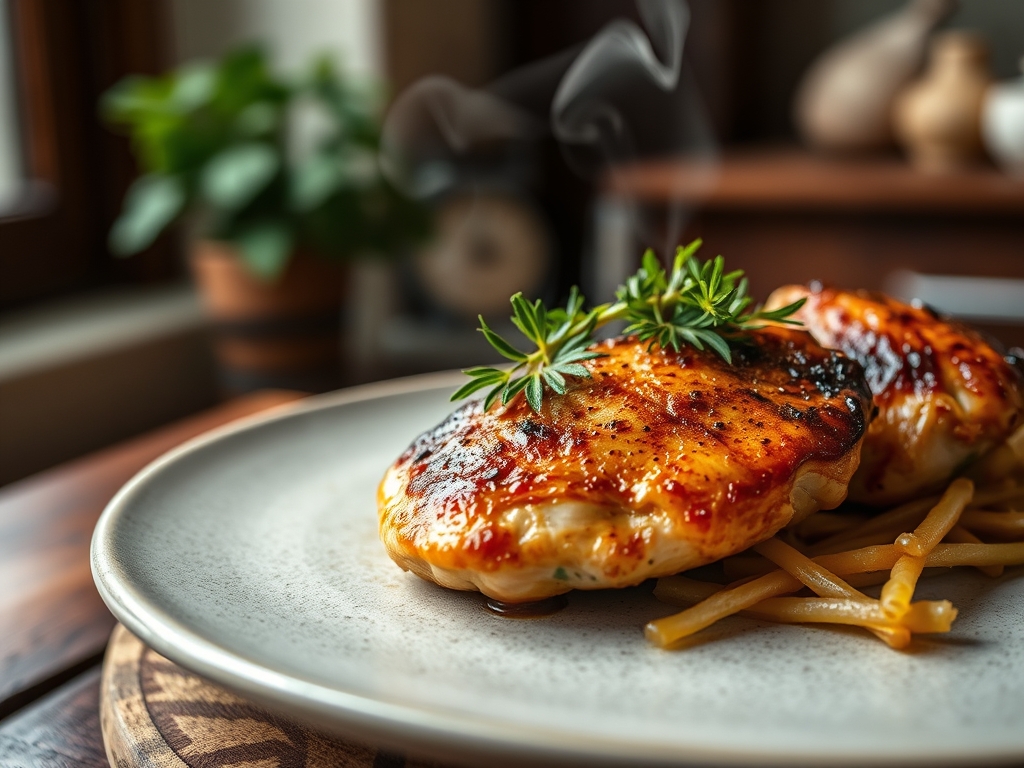
Once the chicken releases naturally from the pan, it is time to flip. You should see a deep, mahogany crust. As the second side cooks, you will notice brown bits forming on the bottom of the pan; this is called the fond, and it is the base for any elite pan sauce.
Pro Tip: The Leidenfrost effect is what allows the meat to eventually "release" from the pan. If the chicken sticks, the crust has not fully dehydrated yet. Be patient; the pan will tell you when it is ready.
5. The Butter Baste
Lower the heat slightly and add a knob of butter, crushed garlic, and herbs. Tilt the pan and use a large spoon to continuously pour the foaming butter over the chicken. This adds a nutty complexity and ensures the thicker parts of the breast cook through.
Pro Tip: This is convection cooking within a fat medium. The hot butter enters the crevices of the sear, intensifying the flavor and creating a hydrophobic barrier that locks in internal moisture.
6. The Internal Temp Check
Use a digital meat thermometer to check the thickest part of the meat. You are looking for 160 degrees Fahrenheit. Remove the chicken from the pan immediately once it hits this mark.
Pro Tip: Thermal carryover will cause the internal temperature to rise another 5 degrees while resting. Pulling at 160 ensures you hit the safety target of 165 without overcooking the delicate proteins.
7. The Deglaze
While the meat rests, use a saucier or the same skillet to add a splash of white wine or stock. Scrape the bottom of the pan to incorporate the caramelized proteins into a silky sauce.
Pro Tip: Alcohol is a powerful solvent. It dissolves flavor compounds that are not water-soluble, creating a more complex and aromatic sauce than stock alone could achieve.
8. The Final Rest
Place the chicken on a warm plate or wooden board. Do not tent it tightly with foil, as the trapped steam will soften that beautiful crust you worked so hard to build. Let it sit for a full ten minutes.
Pro Tip: During cooking, muscle fibers tighten and push juice toward the center. Resting allows the fibers to reabsorb that moisture, ensuring every bite is succulent rather than just the middle.
The Deep Dive
From a macro perspective, pan seared chicken is a nutritional powerhouse. A standard 6-ounce serving provides roughly 50 grams of high-quality protein with minimal carbohydrates. If you are following a Keto protocol, lean into the butter baste for healthy fats. For a Vegan alternative, the same searing techniques apply beautifully to extra-firm tofu or "lion's mane" mushrooms; just ensure they are pressed dry to achieve that signature crunch.
The Fix-It:
- The Meat is Tough: You likely skipped the tempering phase. Cold meat hits a hot pan and the fibers "shock" into a tight, rubbery knot.
- The Crust is Burnt but Inside is Raw: Your heat was too high. Start with a hard sear, then lower the flame for the basting phase to allow even heat penetration.
- No Crust Formed: The pan was crowded. Cooking too many pieces at once drops the pan temperature and traps steam. Cook in batches if necessary.
Meal Prep Science: To reheat without losing quality, avoid the microwave. Instead, use a low oven (275 degrees) with a splash of water in the pan covered by a lid. This creates a gentle steam environment that rehydrates the protein without "re-cooking" it into leather.
The Wrap-Up
Mastering pan seared chicken recipes is the ultimate "level up" for any home cook. It is the bridge between basic sustenance and culinary artistry. By understanding the physics of the Maillard reaction and the importance of thermal carryover, you have moved beyond following a recipe to understanding the "why" behind the "how." Now, go get that skillet screaming hot and show that chicken who is boss. Your taste buds will thank you later.
The Kitchen Table
How do I get the skin extra crispy?
Ensure the skin is bone-dry and start the chicken skin-side down in a cold pan. Gradually increasing the heat allows the fat to render slowly, resulting in a glass-like shatter when you bite into it.
Can I use frozen chicken for searing?
It is not recommended. Frozen chicken releases excessive moisture as it thaws in the pan, which boils the meat rather than searing it. Always thaw completely in the refrigerator and pat dry before cooking.
What is the best pan for searing?
A heavy-bottomed stainless steel or cast iron skillet is best. These materials have high heat retention, meaning the temperature won't drop significantly when you add the cold protein to the pan.
Why does my chicken stick to the pan?
Sticking usually happens because the pan wasn't hot enough or you tried to flip the meat too early. Wait for the Maillard reaction to finish; the meat will naturally release once a crust forms.
Is it safe to eat chicken at 160 degrees?
Yes, provided you let it rest. Carryover cooking will bring the internal temperature up to the USDA-recommended 165 degrees Fahrenheit while the meat sits, ensuring it is both safe and juicy.