
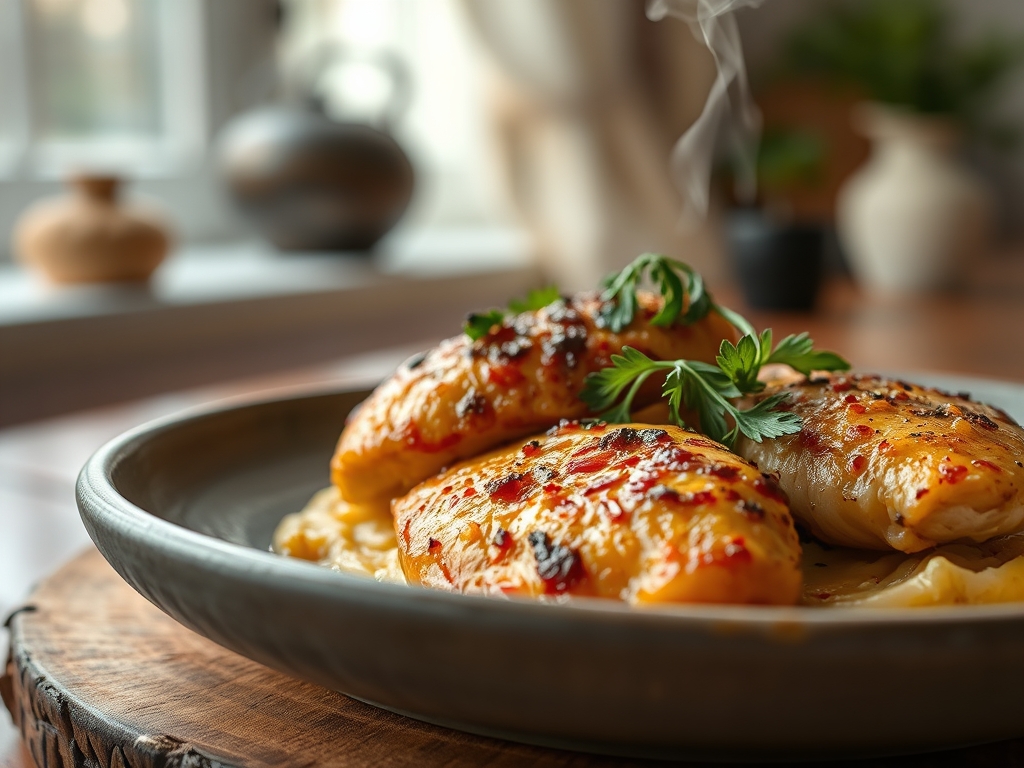
Imagine the hiss of cold protein meeting a shimmering layer of hot oil. That sound is more than just noise; it is the symphony of the Maillard reaction beginning to transform a humble bird into a masterpiece. When you are hunting for weeknight chicken recipes, you are not just looking for sustenance. You are looking for a way to reclaim your evening without sacrificing the piquant, complex flavors of a five star bistro.
We have all been there. It is 6:00 PM, the fridge is a barren wasteland of half empty condiment jars, and the pressure to produce something edible is mounting. But here is the secret: great cooking is not about hours of labor. It is about understanding the molecular dance of heat and fat. By mastering a few high impact techniques, you can turn a standard pack of thighs into a rotating menu of seven distinct, crave worthy meals that feel like a celebration rather than a chore. Let us dive into the science of the sear and the art of the quick pan sauce.
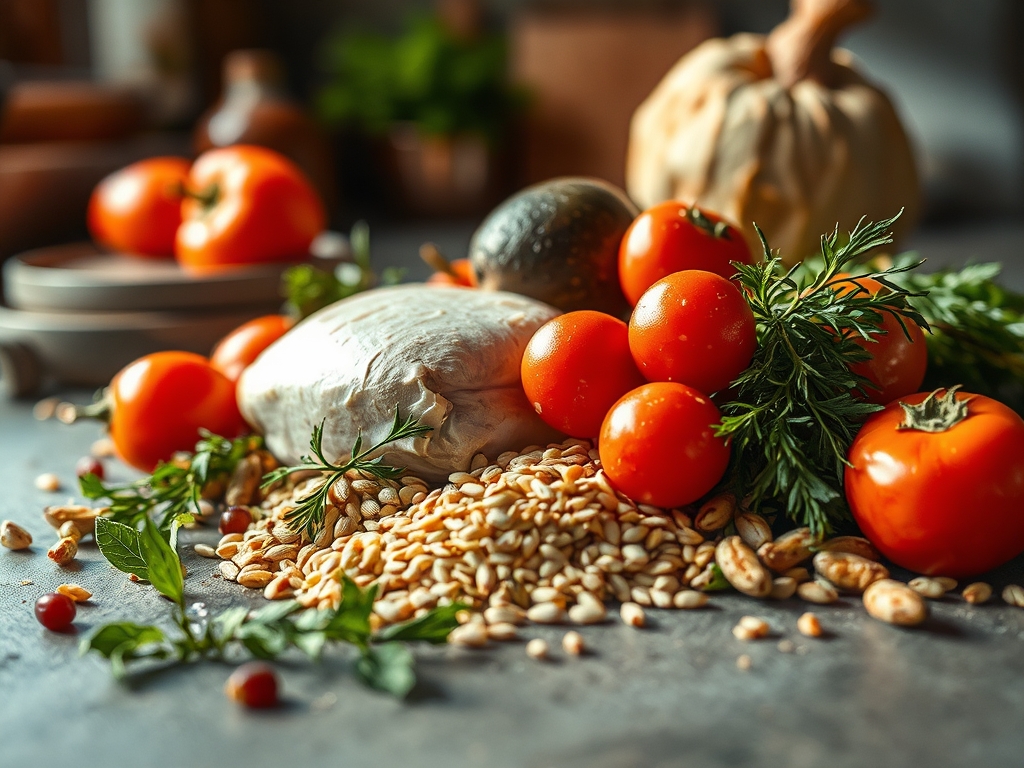
The Gathers:
Setting the stage is about more than just clearing the counter. You need your mise-en-place to be a tactical advantage. Start with high quality, air chilled chicken. Unlike water chilled birds, air chilled poultry has less moisture in the skin, which allows for a faster, crispier render of the subcutaneous fat. You will want your heavy-bottomed skillet or a seasoned cast iron pan to ensure even heat distribution across the surface.
Your pantry should be stocked with high smoke point fats like avocado oil or clarified butter. Avoid extra virgin olive oil for high heat searing, as its low smoke point leads to acrid, oxidized flavors. Gather your aromatics: fresh thyme, cloves of garlic, and perhaps a knob of ginger. Use a microplane to grate your aromatics directly into your marinades to increase surface area, which helps infuse the oil with flavor compounds much faster than slicing would.
Smart Substitutions:
If you find yourself without shallots, the white parts of green onions offer a similar delicate sulfurous profile. No white wine for your deglaze? A splash of dry vermouth or a tablespoon of apple cider vinegar diluted in water provides that essential acidity to balance the richness of the fats. If you are aiming for a lower sodium profile, swap soy sauce for coconut aminos; the viscosity is similar, but the glycemic impact is lower.
The Clock (H2):
Efficiency in the kitchen is governed by what I call the Chef's Flow. This is the art of overlapping tasks so that no second is wasted. A typical weeknight chicken recipe should take no more than 35 minutes from fridge to table. The first ten minutes are dedicated to prep: chopping, measuring, and patting the meat dry. Never skip the drying phase. Moisture is the enemy of browning because the energy of the pan will be wasted evaporating water rather than browning the proteins.
The cooking phase usually lasts 15 to 20 minutes. While the chicken is in the pan, use that "dead time" to whisk your sauce or prep a quick side salad. The final five minutes are for the resting period. This is non-negotiable. Resting allows the muscle fibers to relax and reabsorb the internal juices. If you cut into it too soon, the moisture will flood the plate, leaving you with a dry, disappointing result.
The Masterclass (H2):
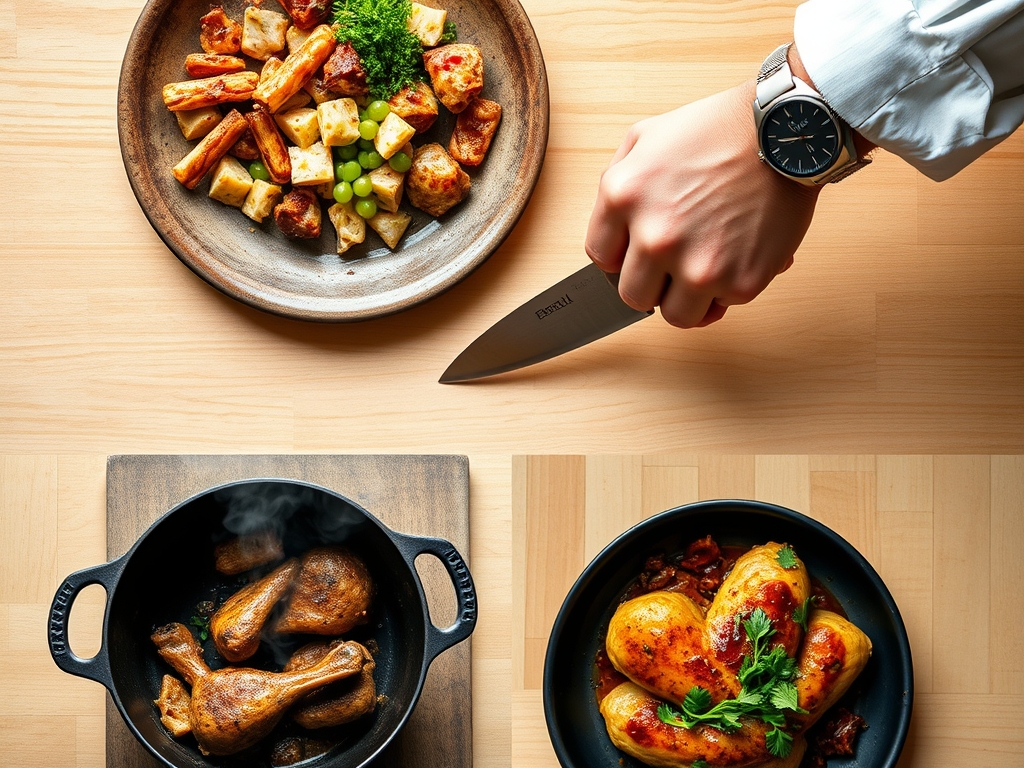
1. The High Heat Sear
Place your chicken skin side down in a preheated skillet. Use tongs to press the meat firmly against the metal to ensure maximum contact. Do not move it. You are waiting for the protein to naturally release from the pan surface.
Pro Tip: This is enzymatic browning. When the amino acids and reducing sugars react under heat, they create hundreds of flavor compounds. If the meat sticks, the bond hasn't finished breaking; give it another thirty seconds.
2. The Deglaze and Emulsify
Once the chicken is removed, you will see brown bits stuck to the bottom. This is "fond," and it is liquid gold. Pour in your liquid (stock, wine, or citrus) and use a bench scraper or wooden spoon to lift those bits.
Pro Tip: To create a viscous sauce, whisk in cold butter at the very end. This creates a fat in water emulsion. The cold temperature of the butter prevents the sauce from "breaking" or separating into a greasy mess.
3. The Aromatics Infusion
Lower the heat and add your microplaned garlic or herbs. You only want to cook these for about 45 seconds. Overcooking garlic makes it bitter, but a quick toss in the residual fat will aerate the volatile oils, making the whole dish smell incredible.
Pro Tip: This is known as blooming spices. Fat is a much better carrier for flavor than water, so sautéing your spices briefly in oil unlocks fat soluble flavor molecules that would otherwise stay trapped.
4. The Thermal Finish
If you are using thick breasts, finish them in a 400 degree oven. This provides a 360 degree heat source that cooks the center without burning the exterior. Use a digital scale or meat thermometer to pull the chicken at 160 degrees.
Pro Tip: Remember thermal carryover. The internal temperature will continue to rise about 5 degrees after you remove it from the heat. Pulling it early ensures the meat stays succulent rather than rubbery.
The Deep Dive (H2):
From a nutritional standpoint, chicken is a powerhouse of lean protein, typically offering about 31 grams per 4 ounce serving. It is rich in niacin and selenium, which support metabolic function. For those following specific diets, these weeknight chicken recipes are incredibly versatile. Keto followers should lean into the thigh meat and butter based sauces, while Vegan guests can often substitute the chicken for "soy curls" or extra firm pressed tofu using the exact same searing techniques.
The Fix-It:
- Rubbery Skin: This happens when the heat is too low to render the fat. Fix it by starting the chicken in a cold pan and gradually raising the heat to melt the fat slowly.
- Bland Meat: You likely only seasoned the surface. Fix it by "dry brining" with salt at least 30 minutes before cooking to allow the salt to penetrate the cell walls via osmosis.
- Broken Sauce: If your sauce looks oily, it has lost its emulsion. Fix it by whisking in a teaspoon of heavy cream or a splash of water while beating vigorously to re-bind the fats.
For Meal Prep, the secret to reheating is avoiding the microwave's "rubberizing" effect. Instead, use a saucier to gently warm the chicken in a splash of stock over low heat. This reintroduces moisture and prevents the proteins from tightening up and becoming tough.
The Wrap-Up (H2):
Mastering weeknight chicken recipes is your ticket to culinary freedom. Once you understand that cooking is just a series of chemical reactions, you stop following recipes and start following your instincts. Use your tools, trust your thermometer, and never be afraid of a little smoke in the kitchen. You have the skills to turn a Tuesday night into a gourmet experience. Now, go grab that skillet and make something brilliant!
The Kitchen Table (H2):
How do I keep chicken breast from drying out?
Always use a meat thermometer and pull the chicken at 160 degrees Fahrenheit. Allow it to rest for five minutes so the juices redistribute. This utilizes thermal carryover to reach the safe 165 degree mark without overcooking the fibers.
Can I cook frozen chicken in a skillet?
It is not recommended. The exterior will burn before the interior reaches a safe temperature, and the excess moisture prevents the Maillard reaction. Always thaw chicken completely in the refrigerator and pat it dry with paper towels before searing.
What is the best pan for chicken?
A heavy-bottomed skillet, such as stainless steel or cast iron, is best. These materials retain heat efficiently, ensuring a consistent sear and better fond development for your pan sauces compared to non stick surfaces.
Why is my chicken skin not crispy?
The skin likely had too much surface moisture or the pan wasn't hot enough. Ensure the skin is bone dry and use a high smoke point oil. Avoid overcrowding the pan, which creates steam and prevents crisping.