
Imagine the sound of a cold fillet hitting a heavy-bottomed skillet; that sharp, rhythmic sizzle is the music of proteins tightening and sugars caramelizing. We have all been there, staring at a piece of fish and worrying it will end up as dry as a desert or stuck to the pan. Finding good and easy salmon recipes should not feel like a high-stakes chemistry exam, even if the physics of the perfect sear is actually quite brilliant. You want that shatter-crisp skin and a center that yields like butter under a fork. It is about working with the fish, not against it.
Salmon is the ultimate weeknight hero because it is structurally forgiving if you know the levers to pull. Whether you are hosting a last-minute dinner or just trying to feed yourself something that feels like a hug, these hacks bridge the gap between amateur hour and Michelin-star execution. We are going to master the Maillard reaction, talk about the glory of thermal carryover, and ensure your kitchen smells like a high-end bistro rather than a pier. Grab your apron; we are turning a simple protein into a masterpiece of texture and flavor.
The Gathers:
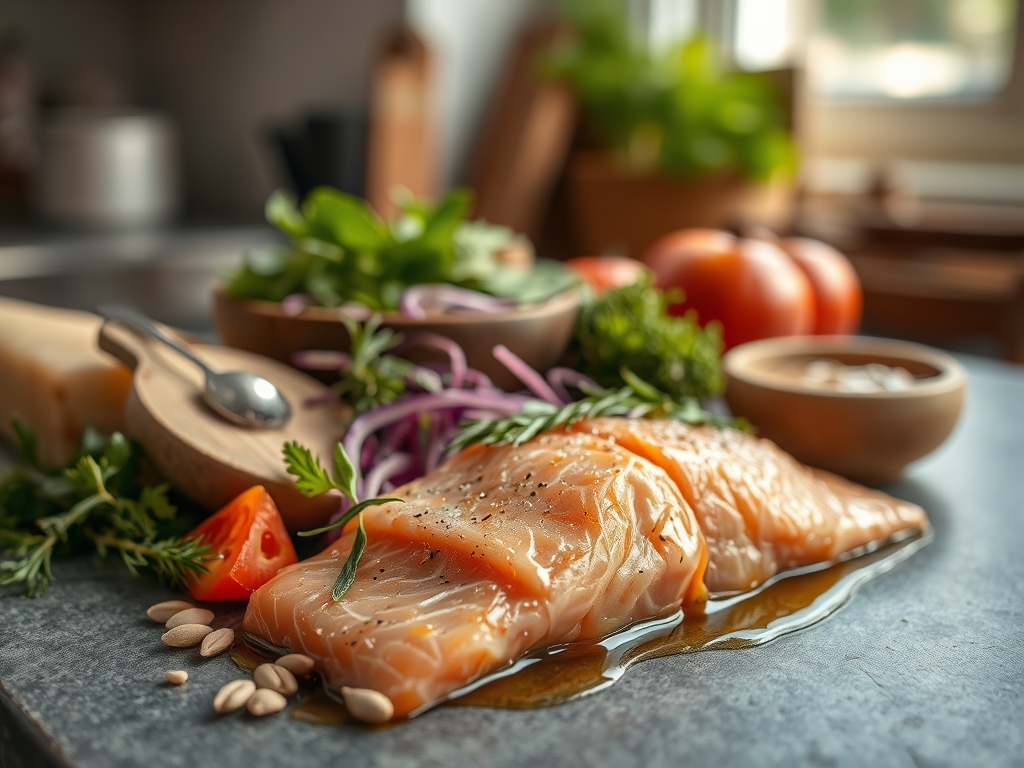
To execute these hacks, your mise-en-place must be precise. Start with center-cut fillets, which offer a uniform thickness for even heat distribution. You will need a high-smoke-point fat, such as avocado oil or clarified butter, to ensure the lipids do not break down and turn acrid before the skin crisps. Fresh aromatics are non-negotiable; think woody herbs like thyme or rosemary that can withstand high heat to infuse the oil.
Your toolkit is just as vital as your ingredients. Reach for a flexible fish spatula to slide under delicate proteins without tearing the flesh. A microplane is essential for zesting citrus or grating garlic into a fine, viscous paste that melts into your glazes. For the "Smart Substitutions," if you lack fresh lemons, a splash of white balsamic vinegar provides the necessary piquant acidity to cut through the fatty acids of the fish. If you are out of honey for a glaze, maple syrup offers a deeper, more complex sugar profile that promotes rapid enzymatic browning.
The Clock
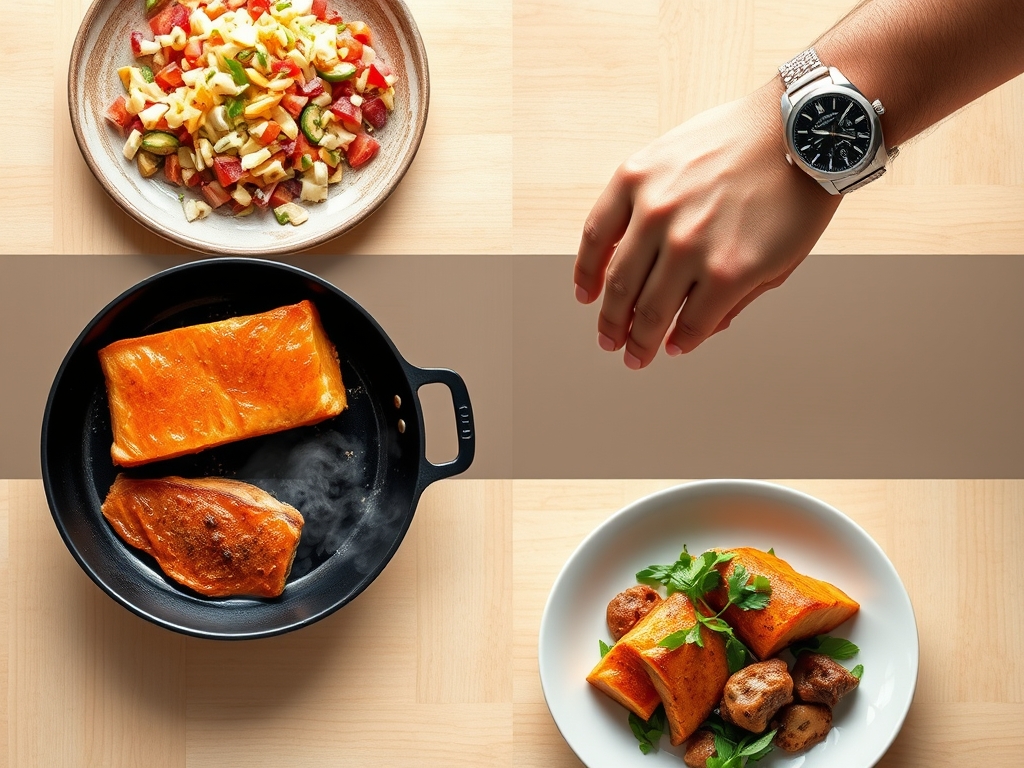
Efficiency in the kitchen is what I call the "Chef's Flow." For these good and easy salmon recipes, your active prep time should never exceed fifteen minutes. The goal is to synchronize your sides so everything hits the plate at the peak of its thermal cycle. While the salmon rests, you use those precious three minutes to deglaze your pan or toss a quick salad.
Total cook time varies by method, but a standard sear takes approximately eight to ten minutes. If you are roasting, expect twelve to fifteen. The key to the flow is "backwards planning." Start your grains or dense vegetables first, as they have a higher thermal mass and hold heat longer than the delicate lamellae of the fish. By the time the salmon finishes its carryover cooking on the cutting board, your sides will be ready to serve.
The Masterclass
1. The Desiccant Method
Before the fish ever touches heat, you must remove every molecule of surface moisture. Use a paper towel to press firmly onto the skin side. A dry surface is the only way to achieve a crisp texture rather than a steamed, rubbery mess.
Pro Tip: This is about thermodynamics. Energy spent evaporating surface water is energy not spent browning the skin; a dry fillet undergoes the Maillard reaction almost instantly.
2. Cold Pan Start for Rendered Fat
Place the salmon skin-side down in a cold, heavy-bottomed skillet before turning on the heat. As the pan warms, the subcutaneous fat begins to render slowly, essentially frying the skin in its own natural oils.
Pro Tip: Starting cold prevents the protein fibers from "shocking" and tightening too quickly, which often causes the fish to curl and cook unevenly.
3. The Weight Technique
Once the fish is in the pan, use a smaller heavy skillet or a weighted press to hold it flat for the first sixty seconds. This ensures total surface contact between the skin and the heat source.
Pro Tip: This prevents the natural contraction of collagen, ensuring an even, glass-like crunch across the entire base of the fillet.
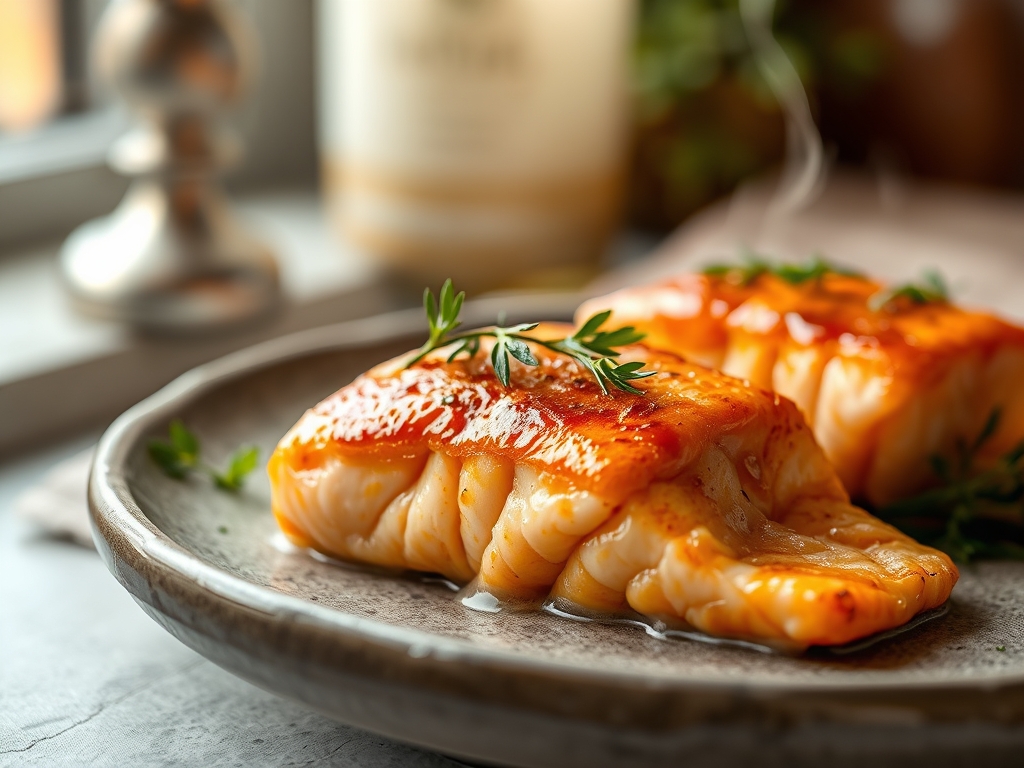
4. The Butter Baste
When the fish is 70 percent cooked, toss in a knob of butter and crushed garlic. Use a large spoon to continuously douse the flesh with the foaming fat. This adds a rich, nutty flavor and finishes the top side gently.
Pro Tip: This is called arrosage. The hot fat creates a convective heat environment that cooks the interior without the harshness of direct contact.
5. Acidic Balance
Always finish with a hit of fresh citrus or a quick pan sauce made from the fond (the brown bits) left in the skillet. Swirl in some cold wine or stock to deglaze the pan and capture those concentrated flavors.
Pro Tip: Acid acts as a molecular "brightener," breaking up the heavy mouthfeel of the salmon's omega-3 fats for a balanced palate.
6. The Precision Pull
Remove the salmon from the heat when a digital thermometer reads 125 degrees Fahrenheit for medium-rare. It might look slightly underdone in the very center, but trust the process.
Pro Tip: Thermal carryover will raise the internal temperature by another 5 to 7 degrees while the fish rests, landing you at a perfect 130-132 degrees.
7. The Resting Period
Give your salmon at least three minutes of rest before serving. This allows the internal juices, which were pushed to the center by the heat, to redistribute through the muscle fibers.
Pro Tip: Resting prevents "purging," which is when all the moisture leaks out the moment you slide your fork in, leaving the meat dry.
The Deep Dive
From a macro perspective, salmon is a nutritional powerhouse, offering roughly 20 grams of protein and 12 grams of healthy fats per 4-ounce serving. It is naturally Keto and Gluten-Free. For a vegan alternative, large "steaks" of cauliflower or king oyster mushrooms can be treated with these same searing techniques, though they require a bit more oil to mimic the fish's natural lipids.
If you hit a snag, remember "The Fix-It." If the skin is sticking, do not force it; it usually releases on its own once the proteins have fully coagulated. If you see white goop (albumin) seeping out, you are cooking it too fast or too high; lower the flame immediately. If the skin is soggy, your pan was not hot enough or was overcrowded, which trapped steam.
For meal prep, reheating salmon is a delicate science. Avoid the microwave, which vibrates water molecules and toughens the protein. Instead, use a low-temperature oven (275 degrees) with a splash of water and a foil cover to aerate the environment and gently steam the fish back to life without overcooking the edges.
The Wrap-Up
Mastering good and easy salmon recipes is less about following a rigid script and more about understanding how heat interacts with moisture and fat. When you stop fearing the sizzle and start using your tools like a pro, dinner becomes the best part of your day. You have the science, the steps, and the hacks to turn a simple fillet into something extraordinary. Now, get that skillet hot and show that salmon who is boss!
The Kitchen Table
How do I stop salmon from smelling fishy?
Freshness is key, but soaking fillets in milk for twenty minutes neutralizes trimethylamine, the compound responsible for that "fishy" odor. Always pat the fish completely dry after the soak before seasoning and searing.
Why does my salmon have white stuff on it?
That white substance is albumin, a protein that pushes to the surface when the muscle fibers contract too quickly. To prevent this, cook the fish at a lower temperature and avoid overcooking it past medium.
Can I cook salmon straight from the freezer?
It is possible but not ideal for texture. For the best results, thaw it in the fridge overnight. If you must cook from frozen, use the "En Papillote" (parchment paper) method to steam it gently.
What is the best oil for searing salmon?
Use oils with a high smoke point like avocado, grapeseed, or canola. These allow you to reach the high temperatures necessary for a crisp skin without the oil breaking down and smoking.
How do I know when salmon is done without a thermometer?
Press the top of the fillet gently with a fork or your finger. If the flakes begin to separate (the lamellae pulling apart) and the meat is opaque but still moist, it is ready.