
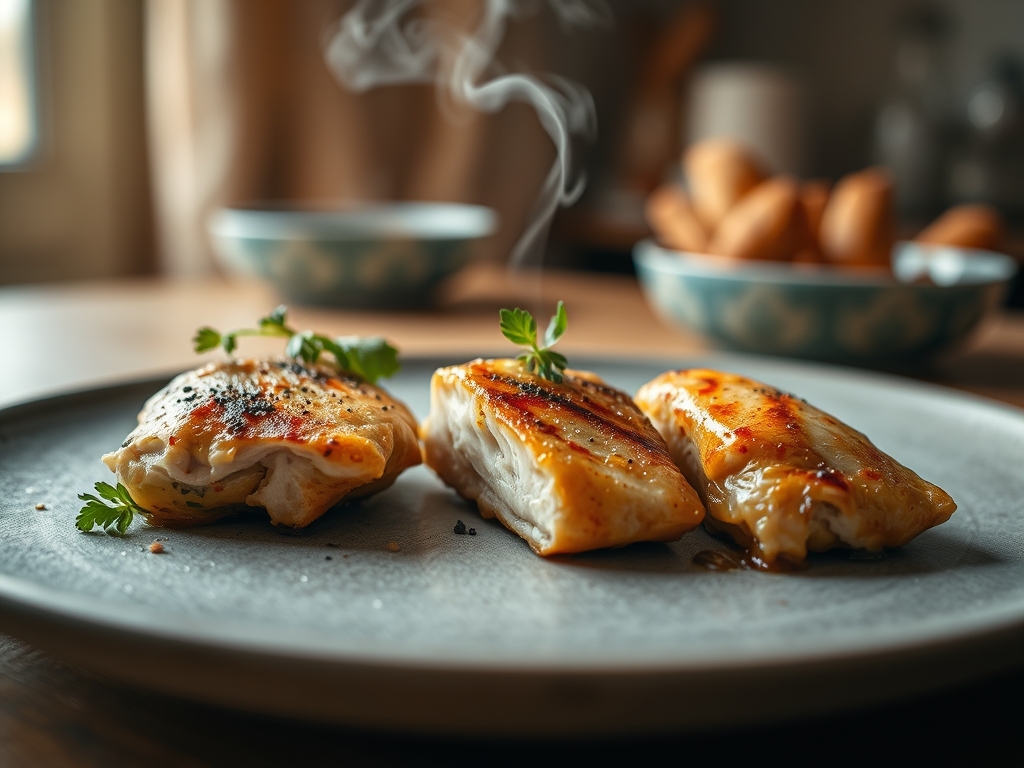
Imagine the sound of cold protein hitting a shimmering layer of fat in a heavy bottomed skillet. That specific, aggressive hiss is the sound of moisture rapidly evaporating as the Maillard reaction begins to transform pale muscle into a golden, savory masterpiece. Finding the perfect pieces of chicken recipes is less about following a rigid script and more about mastering the physics of heat and surface area. Whether you are working with thighs, breasts, or drumettes, the goal is always the same: achieving a shatteringly crisp exterior while maintaining a succulent, fiber rich interior. We are moving beyond the rubbery, uninspired poultry of the past and stepping into a kitchen where science dictates flavor.
The Gathers:
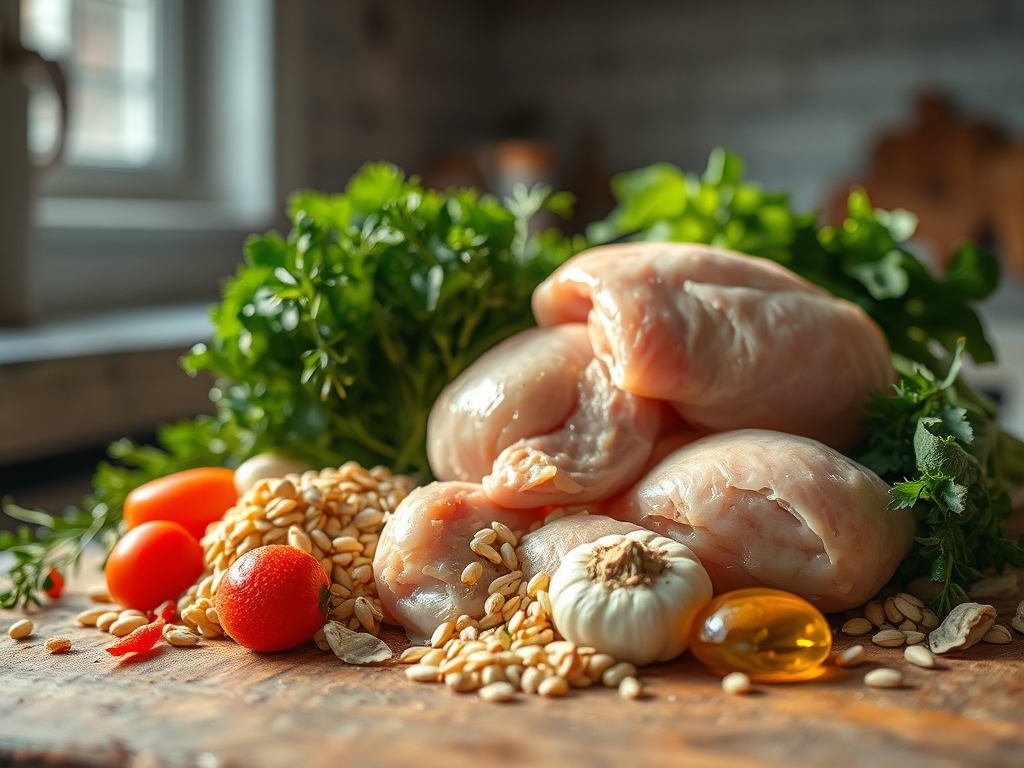
Before we ignite the burner, we must respect the mise en place. High quality pieces of chicken recipes require a balance of lipids, acids, and aromatics. You will need roughly two pounds of bone in or boneless poultry, depending on your preference for thermal retention. Your pantry should yield a high smoke point oil, such as avocado or grapeseed oil, to ensure the fat does not break down and turn acrid before the meat is cooked through.
Gather your dry aromatics: smoked paprika for depth, garlic powder for a non burning savory base, and kosher salt. The coarse grains of kosher salt are essential for drawing out surface moisture, which is the enemy of browning. You will also need a piquant acid like lemon juice or apple cider vinegar to brighten the heavy fats.
Smart Substitutions: If you are out of fresh garlic, avoid the jarred minced variety as it can taste metallic when scorched; use a microplane to grate a tiny amount of fresh ginger for a bright, spicy alternative. If you lack heavy cream for a pan sauce, a dollop of Greek yogurt can provide a similar viscous mouthfeel without the high caloric density, though you must whisk it in off the heat to prevent curdling.
The Clock:
The "Chef's Flow" is all about overlapping tasks to maximize efficiency. Total preparation time sits at a lean 15 minutes, while active cooking spans approximately 20 to 25 minutes. However, the secret to elite poultry is the 30 minute dry brine. By salting your chicken and letting it sit uncovered in the refrigerator, you allow the salt to penetrate the protein fibers via osmosis, seasoning the meat all the way to the bone.
During the cooking phase, your heavy bottomed skillet will do the heavy lifting. Expect 6 to 8 minutes per side for thighs, or 5 to 7 minutes for breasts. Always factor in a 5 minute rest period. This is not optional; it allows the muscle fibers to relax and reabsorb the internal juices that were pushed to the center by the heat.
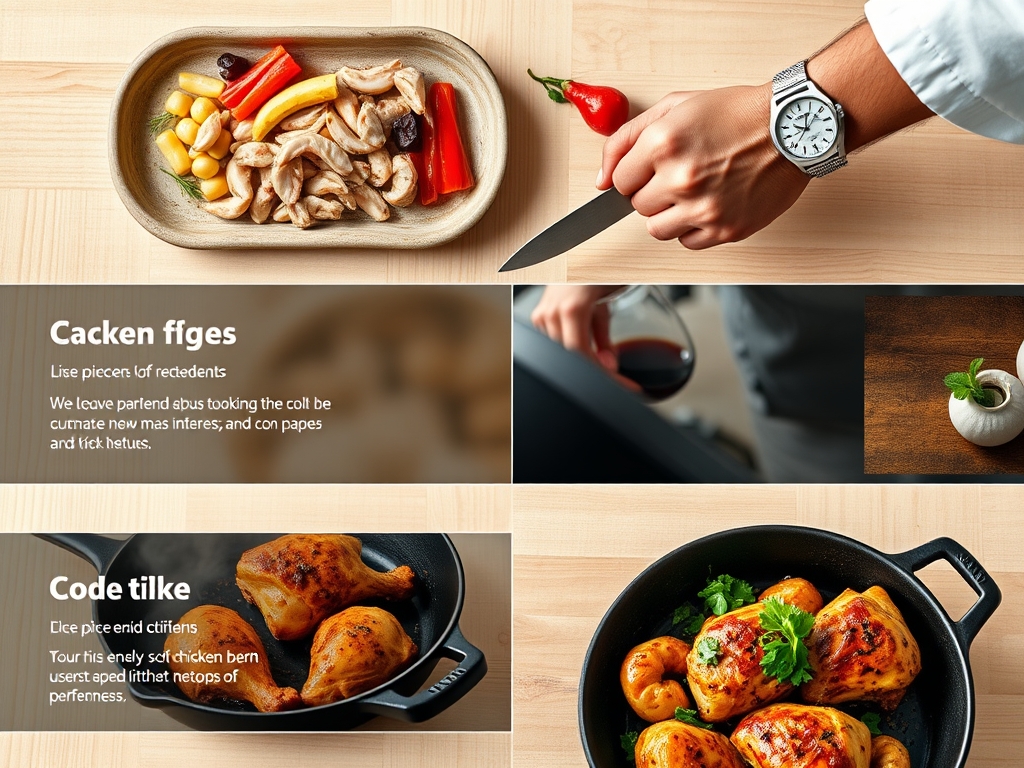
The Masterclass:
1. The Surface Prep
Pat every single piece of meat bone dry with paper towels. Any residual moisture will create a layer of steam between the pan and the protein, preventing the Maillard reaction from occurring.
Pro Tip: This is known as preventing "latent heat of vaporization" issues. If the surface is wet, the energy goes into boiling the water rather than browning the meat.
2. The Seasoning Anchor
Liberally coat the pieces with your dry rub. Use a digital scale to ensure a 1.5 percent salt to weight ratio for perfect seasoning. Press the spices into the skin to ensure they adhere during the flip.
Pro Tip: Spices are fat soluble. By applying them directly to the meat before it hits the oil, you allow the flavors to infuse into the cooking fat, which then coats every millimeter of the chicken.
3. The Cold Pan Start (For Skin-On)
If using skin on pieces, place them skin side down in a cold, heavy bottomed skillet before turning on the heat. This allows the subcutaneous fat to render slowly, resulting in a thinner, crispier skin.
Pro Tip: This gradual heat prevents the protein from seizing too quickly, which can trap fat under the skin and lead to a flabby, greasy texture.
4. The Searing Phase
Once the pan is hot, do not touch the meat. Use stainless steel tongs to test the release. If the chicken sticks, the crust has not yet fully formed.
Pro Tip: This is chemical bonding in action. Once the proteins have undergone sufficient denaturation and browning, they will naturally release from the metal surface.
5. The Flip and Butter Baste
Flip the pieces and add a knob of unsalted butter, a crushed garlic clove, and a sprig of thyme. Use a large spoon to continuously bathe the chicken in the foaming butter.
Pro Tip: Butter basting adds a nutty depth through milk solid caramelization and ensures the tops of the pieces stay moist through conductive heat transfer.
6. The Deglaze
Remove the chicken and look at the brown bits at the bottom of the pan, known as the fond. Pour in a splash of white wine or chicken stock and use a wooden spoon to scrape it up.
Pro Tip: The fond is a concentrated source of umami. Deglazing creates an emulsion that forms the base of a world class pan sauce.
7. The Aromatics Infusion
Toss in sliced shallots or leeks into the deglazed liquid. Let them soften until they become translucent and slightly sweet.
Pro Tip: Sweating vegetables in the residual chicken fat captures the volatile aromatic compounds that would otherwise evaporate into the air.
8. The Emulsion Finish
Whisk in a teaspoon of Dijon mustard or a splash of heavy cream to the pan sauce. This creates a stable emulsion that clings to the meat.
Pro Tip: Mustard contains lecithin, a natural emulsifier that binds the water based stock and the fat based butter into a smooth, velvety glaze.
9. The Rest and Carve
Transfer the pieces to a warm plate and pour the pan sauce over them. Let them sit for five minutes before serving.
Pro Tip: Thermal carryover will raise the internal temperature by about 5 degrees after the meat is removed from the heat. Pulling the chicken at 160 degrees Fahrenheit ensures it reaches the safe 165 degree mark without drying out.
The Deep Dive:
From a macro perspective, pieces of chicken recipes are a nutritional powerhouse. A standard 6 ounce serving provides roughly 40 grams of high bioavailability protein and zero carbohydrates. If you are following a Keto lifestyle, keep the skin on for healthy fats. For a Vegan twist, this exact spice rub and deglazing technique works beautifully on thick slabs of cauliflower or oyster mushrooms. For Gluten Free diners, ensure your chicken stock is certified and use cornstarch or a cold butter whisk to thicken your sauce instead of a flour based roux.
The Fix-It:
- Rubbery Skin: You likely crowded the pan. Cook in batches to ensure steam can escape.
- Burnt Spices: Your heat was too high. Spices like paprika burn at low temperatures; add them later or use more oil to buffer the heat.
- Dry Breast Meat: You skipped the rest period. Use a digital thermometer to pull the meat exactly at 160 degrees.
Meal Prep: To reheat without that "leftover" taste, avoid the microwave. Use a toaster oven at 350 degrees with a splash of water in the pan covered by foil. This creates a mini steam chamber that rehydrates the fibers without overcooking the exterior.
The Wrap-Up:
Mastering pieces of chicken recipes is your gateway to becoming a confident, intuitive cook. Once you understand that browning is biology and resting is physics, the kitchen becomes your playground rather than a place of guesswork. Grab your tongs, trust your digital thermometer, and turn that humble package of poultry into a restaurant quality feast that will have everyone asking for your secret.
The Kitchen Table:
How do I get the skin extra crispy?
The key is moisture removal. Dry the skin with paper towels and let the chicken sit uncovered in the fridge for two hours. This dehydrates the epidermis, allowing it to fry in its own rendered fat for a potato chip like crunch.
Can I use frozen chicken pieces?
Technically yes, but results will suffer. Frozen chicken releases excess water as it thaws in the pan, which boils the meat instead of searing it. For best results, thaw completely in the refrigerator and pat dry before using your heavy bottomed skillet.
What is the best oil for searing chicken?
Choose an oil with a high smoke point, like avocado, peanut, or canola oil. Avoid extra virgin olive oil for high heat searing, as its low smoke point causes it to break down and produce bitter flavors and harmful compounds.
How do I know the chicken is done without a thermometer?
Press the thickest part of the meat with your finger. It should feel firm but springy, similar to the texture of the fleshy part of your palm when your thumb and pinky touch. However, a digital thermometer is the only foolproof method.