
The smell of searing poultry is a universal language; it is the scent of home and high art combined. When you dive into the world of new york times chicken recipes, you are not just making dinner. You are participating in a decades long obsession with the perfect skin and the juiciest interior. We have all been there, standing over a heavy bottomed skillet, praying the skin does not tear or the breast does not turn into sawdust. It is time to stop guessing and start mastering the chemistry of the bird. We are going to deconstruct the techniques that make these dishes legendary; from the aggressive seasoning of a roast to the delicate emulsification of a pan sauce. This is about more than just a meal; it is about the confidence that comes from knowing exactly why your kitchen smells like a five star bistro. Grab your favorite apron and a glass of wine; we are going to make the best chicken of your life.
The Gathers:
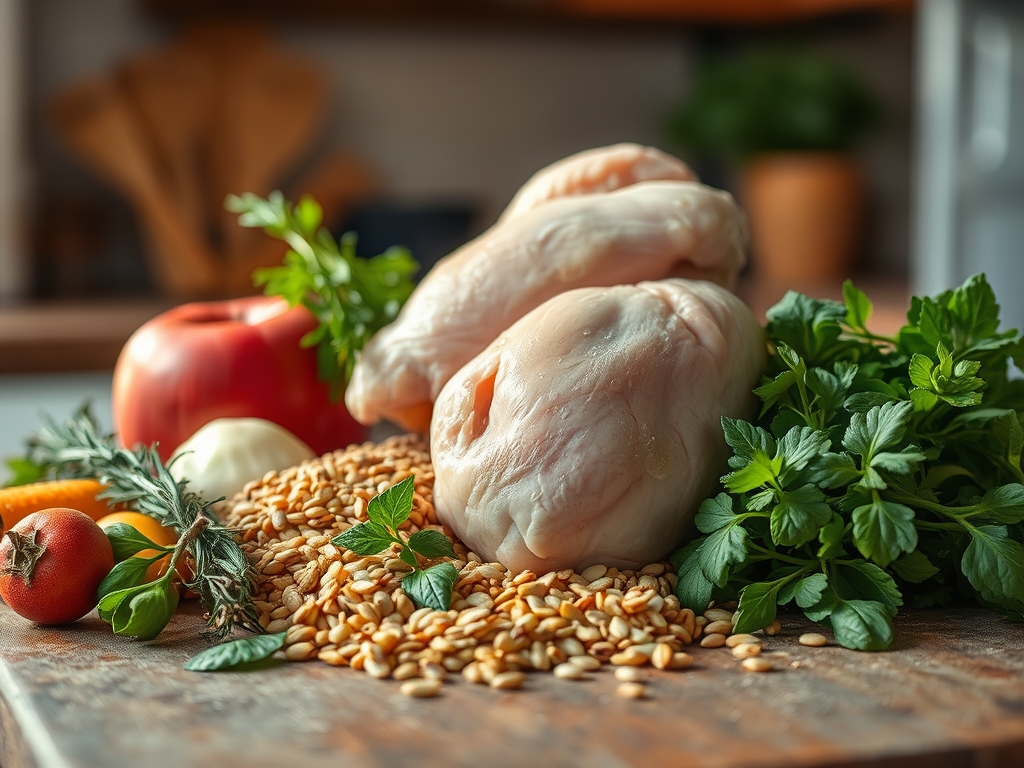
Your mise en place is the foundation of culinary success. For these iconic preparations, you need high quality organic poultry, preferably air chilled. Air chilled birds lack the excess water weight of brine injected supermarket brands, allowing for superior Maillard reaction efficiency. You will need a digital scale to measure your kosher salt precisely; salt density varies wildly between brands like Morton and Diamond Crystal. Gather your aromatics: fresh thyme sprigs, fat cloves of garlic, and a microplane for zesting lemons without hitting the bitter white pith.
Smart Substitutions: If you cannot find shallots, use the white parts of scallions for a similar piquant profile. If you are avoiding dairy, a high quality ghee provides the high smoke point and nutty flavor of butter without the milk solids that burn during a hard sear. For a deeper umami punch, a teaspoon of white miso can be whisked into your chicken stock to mimic the depth of a long simmered bone broth.
The Clock:
The "Chef's Flow" is all about managing your thermal momentum. Total active prep time is approximately 20 minutes, with a cooking window of 35 to 45 minutes depending on the cut. You must factor in the "Room Temp Rest." Taking your chicken out of the refrigerator 30 minutes before it hits the heat prevents thermal shock, ensuring the center cooks at the same rate as the exterior. While the bird roasts or braises, use that "dead time" to prepare your sides or deglaze your pan. Efficiency in the kitchen is not about moving fast; it is about never moving twice.
The Masterclass:
1. The Surface Preparation
Pat the chicken extremely dry using paper towels. Moisture is the enemy of a crisp exterior because energy is wasted evaporating water before the browning can begin. Use your tongs to flip the bird and ensure every nook and cranny is bone dry.
Pro Tip: This is about latent heat of vaporization. If the surface is wet, the temperature cannot rise above 212 degrees Fahrenheit, which is far too low for the Maillard reaction to occur.
2. The Aggressive Seasoning
Season from a height of at least six inches to ensure an even distribution of salt and pepper. Do not forget the underside and the cavity. Salt acts as a denaturant, breaking down tightly wound proteins so they can hold onto more moisture during the cooking process.
Pro Tip: Salting early creates a "dry brine" effect. The salt draws out moisture, dissolves into a concentrated brine, and is then reabsorbed into the muscle fibers via osmosis.
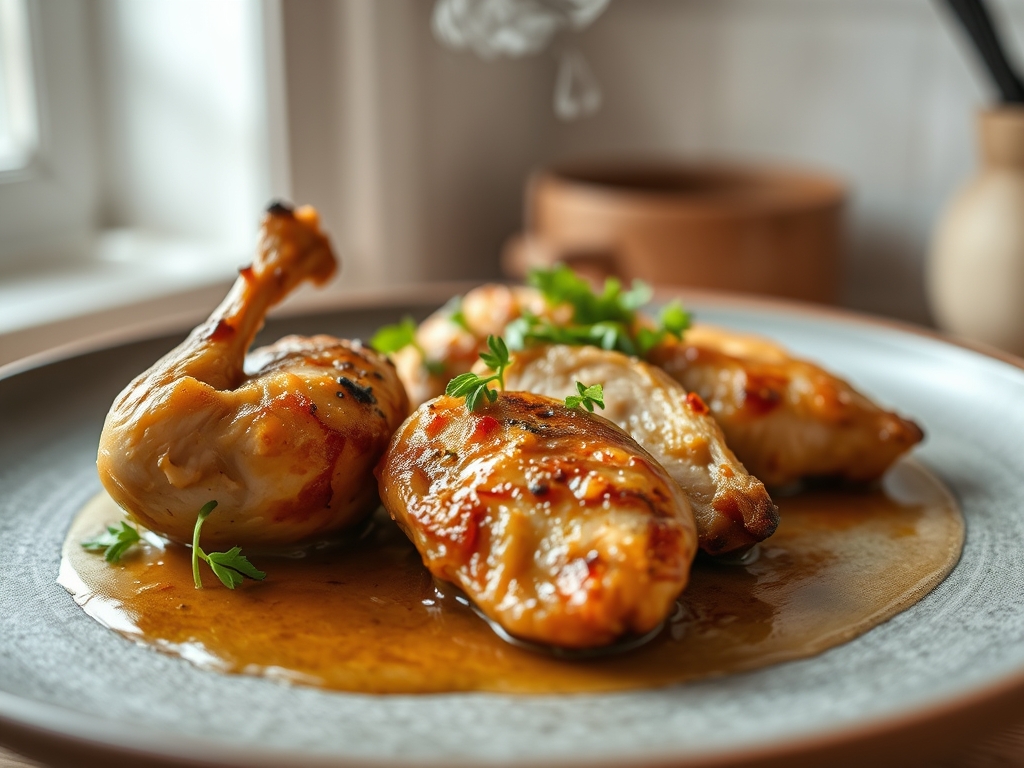
3. The High Heat Sear
Place your heavy bottomed skillet over medium high heat and add a high smoke point oil. Place the chicken skin side down and do not touch it for at least five minutes. You are looking for a deep, golden hue that indicates the proteins and sugars have fused.
Pro Tip: This is enzymatic browning. Moving the meat too early tears the skin because the proteins have not yet "released" from the metal surface through a process called pyrolysis.
4. The Aromatic Infusion
Once flipped, toss in your smashed garlic and thyme. Use a large spoon to baste the chicken with the hot, flavored fat. This ensures the top of the meat stays moist while the bottom continues to cook through conductive heat.
Pro Tip: Fat is a flavor carrier. Many of the aromatic compounds in herbs are fat soluble, meaning they need a lipid medium to penetrate the meat effectively.
5. The Gentle Finish
Transfer the skillet to a preheated oven or lower the burner heat. Use a digital probe thermometer to track the internal temperature. You are aiming for 160 degrees Fahrenheit for breasts and 175 degrees for thighs to break down tough connective tissue.
Pro Tip: Account for thermal carryover. The internal temperature will rise by 5 to 10 degrees after you remove it from the heat source as the exterior heat migrates inward.
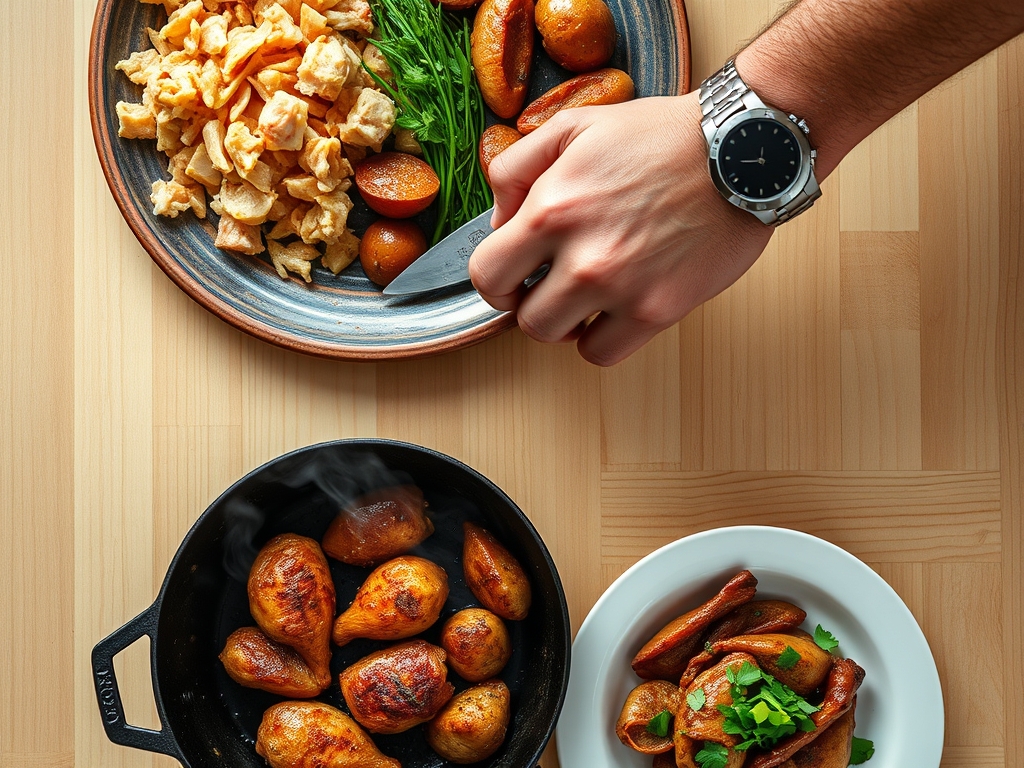
6. The Pan Deglaze
Remove the chicken to a warm plate. Pour off excess fat but keep the "fond," those brown bits stuck to the bottom. Add a splash of dry white wine or stock and use a bench scraper or whisk to loosen the bits.
Pro Tip: The fond is a concentrated source of umami. Deglazing creates a viscous sauce that captures all the complexity of the sear.
7. The Final Rest
Let the chicken rest for at least 10 minutes before slicing. This allows the muscle fibers to relax and reabsorb the juices that were pushed to the center during cooking.
Pro Tip: Slicing too soon causes the juice to run out onto the board. Resting allows the liquid to reach an equilibrium state, ensuring every bite is succulent.
The Deep Dive:
From a nutritional standpoint, a 6 ounce serving of this chicken provides roughly 42 grams of protein and 12 grams of fat. To make this Keto friendly, serve it over a bed of sautéed spinach with extra lemon butter sauce. For a Vegan alternative, use the same searing and deglazing techniques on thick "steaks" of cauliflower or oyster mushrooms; the Maillard principles remain the same.
The Fix-It:
- Rubbery Skin: Your pan was not hot enough. Next time, wait for the oil to shimmer and slightly smoke.
- Dry Meat: You missed the carryover window. Pull the meat at 155 degrees next time.
- Bland Sauce: It lacks acidity. Add a squeeze of lemon or a teaspoon of Dijon mustard to brighten the flavors.
Meal Prep: To reheat without losing quality, avoid the microwave. Place the chicken in a covered dish with a tablespoon of water or stock and heat in a 300 degree oven. This creates a small steam chamber that restores moisture without overcooking the proteins.
The Wrap-Up:
Mastering the nuances of new york times chicken recipes is a rite of passage for any serious home cook. It is about understanding that heat is a tool, salt is a chemical agent, and patience is a literal ingredient. When you pull that shimmering, golden bird out of the oven, you are not just serving food; you are serving a masterclass in technique. Go ahead and take a bow; your kitchen is now the best restaurant in town.
The Kitchen Table:
Why is my chicken skin always soggy?
The most common culprit is residual surface moisture. Use paper towels to pat the skin bone dry and avoid overcrowding the pan; which creates steam instead of a sear. A dry surface is required for the Maillard reaction to begin.
Can I use chicken breasts instead of thighs?
Yes, but you must adjust the timing. Breasts are leaner and prone to drying out; pull them at an internal temperature of 155 to 160 degrees. Thighs are more forgiving due to their higher fat and collagen content.
What is the best pan for searing chicken?
A heavy bottomed cast iron or stainless steel skillet is best. These materials retain heat efficiently, ensuring the pan temperature does not drop when the cold meat is added. This stability is crucial for a consistent, golden crust.
How do I know when the pan is hot enough?
The oil should shimmer and move like water across the surface. You can also test by touching the edge of the chicken to the oil; it should hiss loudly and immediately. If it bubbles weakly, wait another minute.