
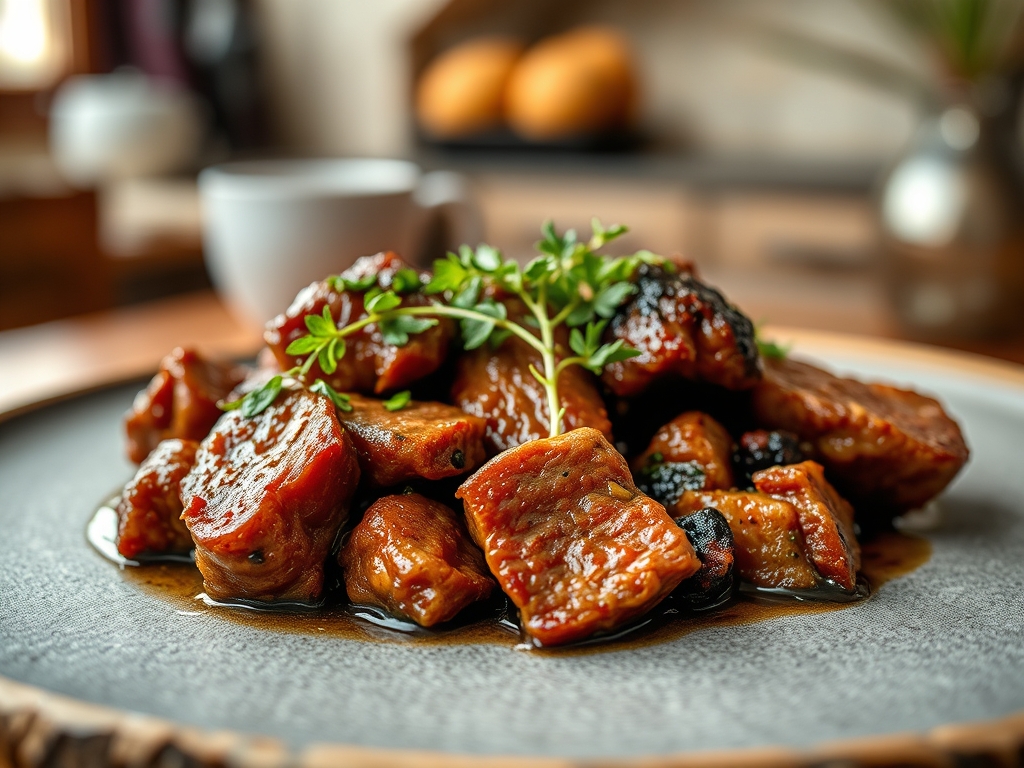
Imagine the sensation of a fork sliding through a steak as if it were softened butter. There is no struggle and no sawing; just a clean, effortless glide that releases a fragrant steam of iron and garlic. Achieving this level of perfection in your kitchen is not a matter of luck or expensive cuts. It is a matter of mastering tender beef recipes through the lens of molecular chemistry. We are moving past the days of grey, chewy protein and entering a world where every fiber is broken down into a succulent, melt-in-your-mouth experience.
The secret lies in understanding how heat interacts with connective tissue. When you treat beef with the respect it deserves, you are essentially performing a delicate dance between moisture retention and the Maillard reaction. Whether you are working with a humble chuck roast or a premium ribeye, the goal is the same: total structural transformation. By the time we finish this deep dive, you will possess the technical prowess to turn even the toughest brisket into a masterpiece of culinary art. Grab your apron and your curiosity; it is time to revolutionize your Sunday dinner.

The Gathers:
Before the first spark of the stovetop, your mise-en-place must be precise. Start with your protein, ideally a cut with visible intramuscular fat known as marbling. This fat will render during the cooking process, providing internal lubrication to the muscle fibers. You will need a high-quality salt, such as Diamond Crystal kosher salt, to begin the process of denaturing the proteins. For the aromatic base, gather fresh thyme, smashed garlic cloves, and cold, unsalted European-style butter, which has a lower water content for better browning.
Smart Substitutions: If you lack a high-heat oil like grapeseed, use clarified butter or ghee to avoid the bitter notes of burnt milk solids. Instead of soy sauce for depth, try a splash of Worcestershire or a teaspoon of fish sauce; these provide a piquant umami boost that amplifies the beefy profile without overwhelming the palate. If you are out of fresh herbs, a dry rub of smoked paprika and mustard powder can provide a similar complexity, though the fresh aromatics are always the gold standard for infusing the fat.
The Clock:
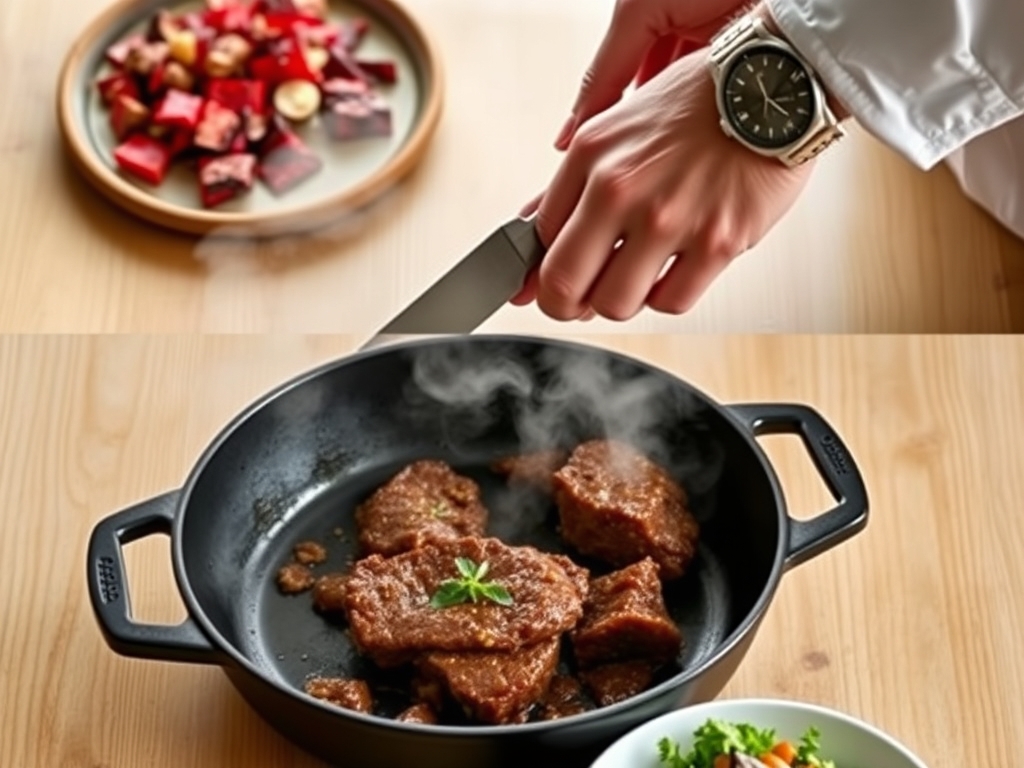
Mastering the "Chef's Flow" is about managing the transition from cold storage to the final rest. You cannot rush a masterpiece. Allow at least 45 minutes for the beef to reach room temperature; this ensures the thermal gradient is not too steep when it hits the pan. The active searing phase usually takes 8 to 12 minutes depending on thickness, but the real magic happens in the passive cooking phase.
Your total time investment will be roughly 75 minutes, but only 15 of those are high-intensity. The "Flow" involves prepping your sides while the meat tempers, searing with high focus, and then using the mandatory 10-minute resting period to whisk together a pan sauce in your saucier. This rhythmic approach prevents the frantic energy that leads to overcooked meat.
The Masterclass:
1. The Dry Brine Technique
Generously coat your beef in salt at least 40 minutes before cooking. This creates a viscous brine on the surface that eventually reabsorbs into the muscle.
Pro Tip: This process uses osmosis to break down tough protein filaments. Salt alters the charge of the protein molecules, allowing them to hold onto more water during the heat application.
2. Moisture Removal
Use a paper towel to pat the surface of the beef until it is bone-dry. Any residual surface moisture will turn to steam, preventing the crisp crust you crave.
Pro Tip: This facilitates the Maillard reaction, a chemical reaction between amino acids and reducing sugars that gives browned food its distinctive flavor. Steam is the enemy of browning.
3. The Heavy-Bottomed Skillet
Heat a cast-iron or heavy stainless steel pan until the oil ripples and just begins to smoke. You need high thermal mass to prevent the pan temperature from dropping when the meat is added.
Pro Tip: Using a heavy-bottomed skillet ensures even heat distribution, preventing "hot spots" that cause uneven protein coagulation and tough patches.
4. Controlled Searing
Place the beef in the pan using tongs, pressing down slightly to ensure maximum surface contact. Sear for 3 minutes without moving the meat to allow a crust to form.
Pro Tip: Moving the meat too early tears the delicate fibers. The meat will naturally "release" from the pan once the proteins have sufficiently caramelized.
5. The Butter Baste
In the final two minutes of cooking, drop in butter, garlic, and herbs. Tilt the pan and use a large spoon to continuously douse the beef in the bubbling fat.
Pro Tip: This is known as arrosage. The hot fat acts as a heat transfer medium, finishing the cook while infusing the exterior with aromatic compounds.
6. Use a Digital Thermometer
Never rely on the "finger poke" test. Use a digital scale or, more importantly, an instant-read thermometer to pull the beef at exactly 130 degrees Fahrenheit for medium-rare.
Pro Tip: This accounts for thermal carryover. The internal temperature will continue to rise by 5 to 7 degrees after being removed from the heat source.
7. The Mandatory Rest
Transfer the beef to a warm plate or wooden cutting board. Do not tent it tightly with foil, as this will soften the crust you worked so hard to build.
Pro Tip: Resting allows the muscle fibers to relax and reabsorb the juices. If you cut it too soon, the pressure from the contracted fibers will push all the moisture out onto the board.
8. Slicing Against the Grain
Identify the direction of the muscle fibers and slice perpendicular to them using a sharp chef's knife or a bench scraper for guidance.
Pro Tip: Cutting against the grain shortens the fibers, making the meat significantly easier to chew and creating a "tender" mouthfeel regardless of the cut's inherent toughness.
The Deep Dive:
Macro Nutrition: Beef is a powerhouse of bioavailable protein, Vitamin B12, and zinc. A standard 6-ounce serving provides roughly 42g of protein and 12g of fat. To keep it lean, opt for sirloin or eye of round; for keto enthusiasts, the ribeye provides the essential healthy fats needed for ketosis.
Dietary Swaps: To make this recipe Keto-friendly, ensure your pan sauce uses heavy cream or xanthan gum instead of a flour-based roux. For a Gluten-Free version, deglaze with dry sherry or wine instead of beer. For a vegan "beef" alternative using mushrooms or seitan, use liquid smoke and soy sauce to mimic the deep iron-rich flavors of bovine protein.
The Fix-It:
- The Gray Band: If you see a thick gray ring around the pink center, your pan wasn't hot enough. Solution: Use a higher smoke-point oil and wait for the "shimmer."
- Toughness: If the meat is rubbery, it likely skipped the resting phase. Solution: If already cut, toss the slices in a warm saucier with butter to coat and soften.
- Burnt Aromatics: If your garlic turns black, it was added too early. Solution: Always add delicate aromatics during the last 120 seconds of the sear.
Meal Prep: To reheat beef without it turning into leather, avoid the microwave. Use a low-temperature oven (250F) with a splash of beef stock, or slice it thin and flash-sear it in a hot pan for 30 seconds to retain the "day-one" suppleness.
The Wrap-Up:
You are now armed with the scientific secrets to conquering any cut of meat in the butcher's case. From the initial salt-driven denaturing to the final, crucial rest, you understand that tenderness is a result of physics and chemistry working in harmony. Go forth and sear with confidence; your kitchen is now a laboratory of flavor.
The Kitchen Table:
How do I make cheap beef tender?
The best method for budget cuts is a long, slow braise or a "velveting" technique using baking soda. Slicing very thin against the grain also mechanically breaks down tough fibers for a better eating experience.
Does marinating beef actually tenderize it?
Acidic marinades only penetrate the surface few millimeters. While they add incredible flavor, they can actually turn the exterior mushy if left too long. For true tenderness, rely on salt and proper temperature control instead of vinegar.
What is the best oil for searing beef?
Choose an oil with a high smoke point, such as avocado, grapeseed, or canola oil. Avoid extra virgin olive oil for high-heat searing, as it will break down and create acrid, bitter flavors that ruin the crust.
Why is my beef always dry?
Dryness is usually caused by overcooking or cutting the meat too soon. Always use a digital thermometer to monitor internal temperatures and allow a full ten-minute rest to ensure the juices redistribute within the muscle fibers.