
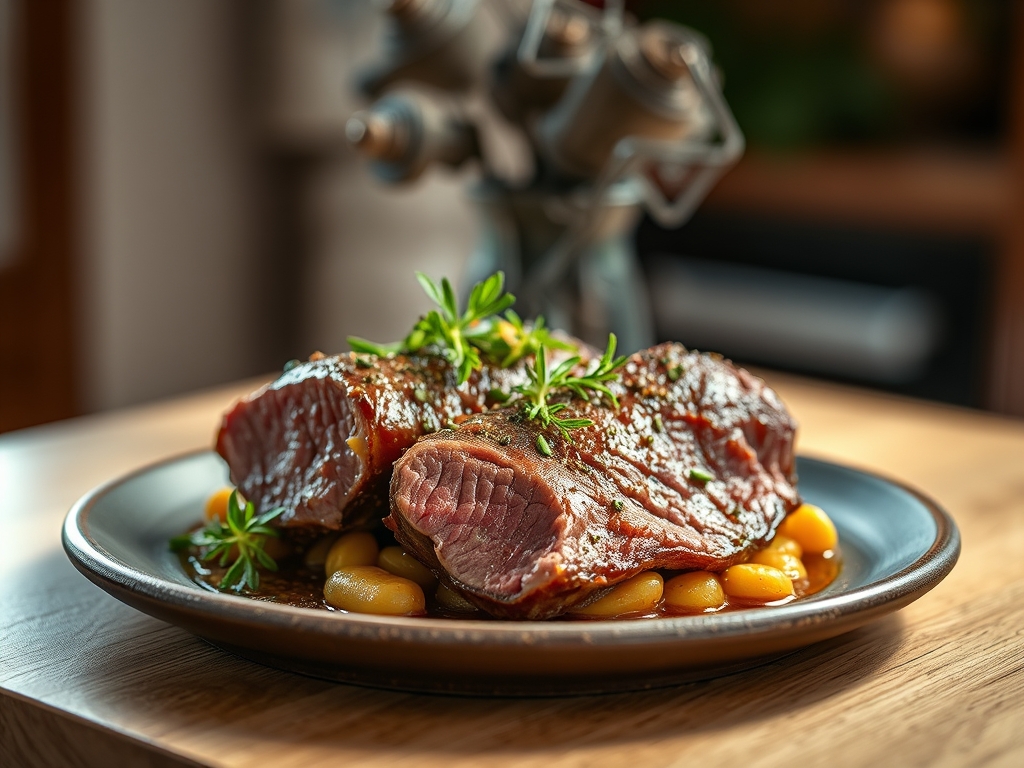
The scent of rosemary and rendered fat hitting a hot pan is the universal language of a home that knows how to feast. If you want to master the art of the Sunday dinner, you need to understand the best roast beef recipes are not just about heat; they are about the chemistry of protein and patience. We are talking about that perfect, edge to edge pink center and a crust so savory it shatters under your knife. It is the ultimate flex for any home cook.
Whether you are hosting a formal holiday gala or just looking to elevate your meal prep game for the week, the secret lies in the details. Most people treat a roast like a chore, but we are going to treat it like a high stakes science experiment with a very delicious outcome. Grab your apron and your favorite heavy bottomed skillet; we are about to turn a humble cut of beef into a masterpiece that will have your guests asking for your secret before they even finish their first bite.
The Gathers:
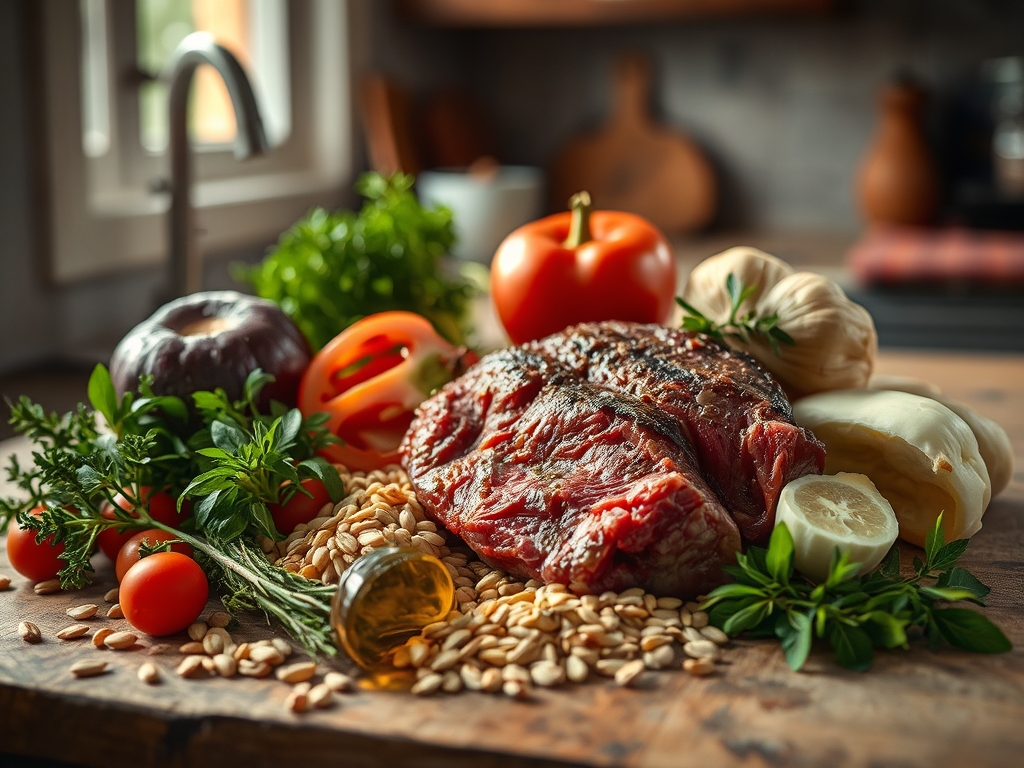
To execute the best roast beef recipes, your mise en place must be precise. We start with the star: a three to four pound Top Round, Sirloin Tip, or Eye of Round. Look for fine intramuscular fat, known as marbling, which will melt during the cooking process to provide a viscous, mouth coating richness. You will need a high quality Kosher salt for its jagged crystal structure that adheres better to muscle fibers than fine table salt.
For the aromatics, gather fresh rosemary, thyme, and at least six cloves of garlic. We will use a microplane to zest a bit of lemon into our herb rub for a piquant lift that cuts through the heavy lipids. You also need a high smoke point oil, such as grapeseed or avocado oil, to facilitate a proper sear without filling your kitchen with acrid blue smoke.
Smart Substitutions: If you are avoiding bovine products, a large "roast" of cauliflower or a dense seitan log can be treated with the same dry brine technique. For those lacking fresh herbs, a concentrated herb paste or high quality dried herbes de Provence will suffice, though you should hydrate them in a bit of oil first to infuse the flavor.
The Clock:
The "Chef's Flow" is all about managing thermal momentum. You cannot rush a roast. Total active prep time is roughly 20 minutes, but the passive time is where the magic happens.
- The Dry Brine: 2 to 24 hours (essential for moisture retention).
- The Temper: 60 minutes (bringing the meat to room temperature).
- The Sear: 10 to 15 minutes.
- The Roast: 45 to 90 minutes, depending on the desired internal temperature.
- The Rest: 20 to 30 minutes.
If you try to skip the tempering or the resting phase, you will end up with a grey, tough exterior and a puddle of wasted juices on your cutting board. Respect the clock, and the clock will reward you with tenderness.
The Masterclass:
1. The Salt Cure and Temper
Start by patting the beef bone dry with paper towels. Excess moisture is the enemy of the Maillard reaction. Generously coat the entire surface with Kosher salt and let it sit uncovered in the fridge for at least two hours. One hour before cooking, pull it out to sit on the counter.
Pro Tip: This is called osmosis and diffusion. The salt initially draws moisture out, but then creates a brine that is reabsorbed into the muscle fibers, seasoning the meat deeply while breaking down tough proteins for a more tender bite.
2. The High Heat Sear
Heat your heavy bottomed skillet (cast iron is king here) until the oil is shimmering and just starting to wisp smoke. Use your tongs to sear every single side of the beef, including the ends, until a deep mahogany crust forms.
Pro Tip: This is the Maillard reaction, a chemical reaction between amino acids and reducing sugars. It does not "lock in juices," but it does create hundreds of different flavor compounds that provide that classic savory, "beefy" profile.
3. The Low and Slow Roast
Transfer the beef to a wire rack set inside a rimmed baking sheet. This allows hot air to circulate around the entire radius of the meat. Insert a digital probe thermometer into the thickest part of the roast. Set your oven to a low 250 degrees Fahrenheit.
Pro Tip: Low temperature roasting prevents the outer layers of the meat from overcooking while the center reaches the target temperature. This ensures a uniform pink color from the center all the way to the crust.
4. The Deglaze and Saucier Work
While the beef roasts, take that skillet with the leftover browned bits (the fond). Add minced shallots and a splash of red wine. Use a bench scraper or wooden spoon to loosen the fond, then whisk in beef stock and a knob of cold butter in a saucier to create a glossy pan sauce.
Pro Tip: Adding cold butter at the end is called monter au beurre. The cold fat creates a stable emulsion with the liquid, resulting in a thick, velvety sauce without the need for a flour roux.
5. The Rest and Carve
Once the beef hits 125 degrees Fahrenheit (for medium rare), pull it out. Transfer it to a warm plate and tent it loosely with foil. Let it rest for at least 20 minutes before slicing against the grain with a very sharp carving knife.
Pro Tip: This accounts for thermal carryover. The internal temperature will continue to rise about 5 to 10 degrees after removal. Resting also allows the muscle fibers to reabsorb the juices, ensuring the liquid stays in the meat rather than on the board.
The Deep Dive:
Macro Nutrition: A standard 4 ounce serving of lean roast beef provides approximately 250 calories, 30 grams of protein, and 14 grams of fat. It is a powerhouse of Vitamin B12 and Zinc.
Dietary Swaps: For a Keto version, ensure your pan sauce is thickened with heavy cream instead of a starch slurry. For Gluten Free guests, deglaze with a fortified wine or cider and avoid any pre-packaged seasoning rubs that might contain anti caking agents derived from wheat.
The Fix-It:
- The Meat is Grey: You likely skipped the sear or crowded the pan. Next time, ensure the pan is screaming hot and the meat is dry.
- Too Tough to Chew: You probably sliced with the grain. Always look for the direction of the muscle fibers and slice perpendicular to them to shorten the fibers.
- Uneven Cooking: The meat was too cold when it hit the oven. Never skip the one hour room temperature temper.
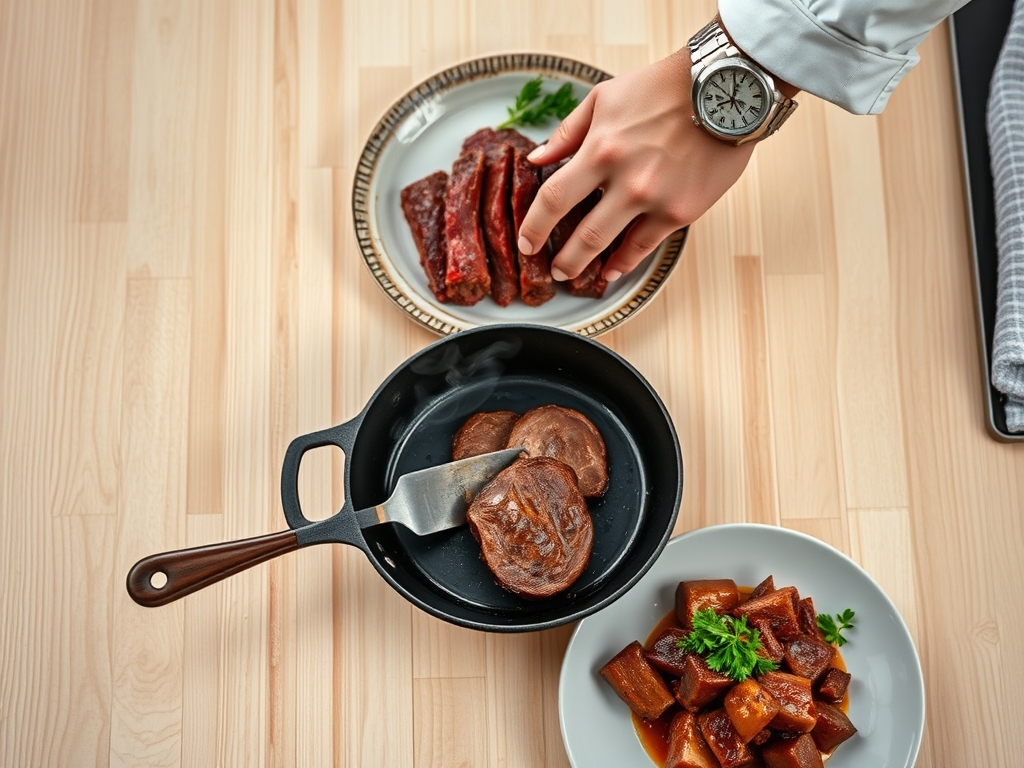
Meal Prep: To reheat roast beef without turning it into leather, use the "low and slow" method again. Place slices in a shallow dish with a tablespoon of broth, cover tightly with foil, and warm in a 300 degree oven for just 10 minutes. This gently steams the protein back to life.
The Wrap-Up:
Mastering the best roast beef recipes is a rite of passage that moves you from "cook" to "chef." By focusing on the science of the sear and the patience of the rest, you are guaranteed a result that looks like a professional food styling shoot. Remember to use your tools wisely; that digital thermometer is your best friend. Now, go forth, deglaze that pan, and enjoy the most impressive meal of your week!
The Kitchen Table:
What is the best cut for roast beef?
For value and flavor, the Top Round or Sirloin Tip is best. These lean cuts benefit from the low and slow roasting method, resulting in tender, easy to slice portions that are perfect for sandwiches or formal dinners.
How do I get a perfect crust?
The secret is a dry surface and high heat. Salt the meat 24 hours in advance to draw out moisture, then pat it dry again before searing in a preheated cast iron skillet with high smoke point oil.
Why is my roast beef tough?
Toughness usually results from overcooking or slicing with the grain. Ensure you pull the meat at 125 degrees Fahrenheit for medium rare and always slice against the muscle fibers to break up the connective tissue.
Can I cook roast beef in a slow cooker?
While possible, a slow cooker uses moist heat which "stews" the beef rather than roasting it. For the best flavor and texture, use an oven to allow for the Maillard reaction and better temperature control.