
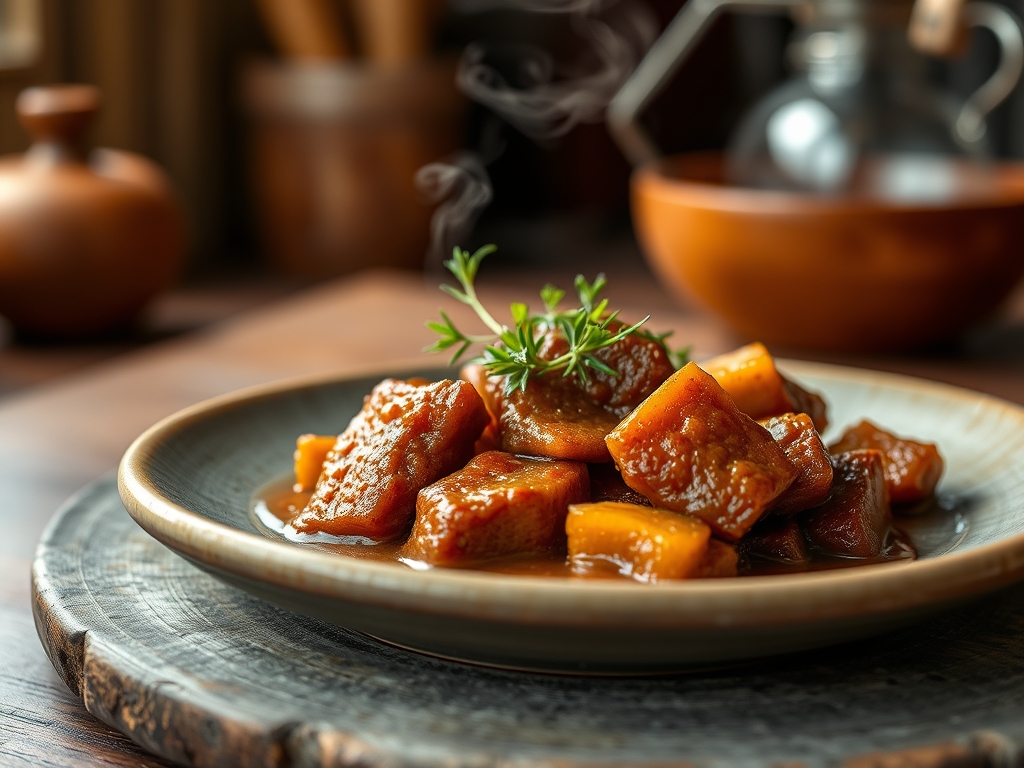
Imagine a cold, misty evening where the only remedy is a thick slice of toasted sourdough topped with a spread so savory it borders on the divine. We are talking about the ultimate comfort food: a rich, silk-textured spread that captures the very soul of a Sunday roast. If you have been searching for authentic potted beef recipes, you have stumbled into the right kitchen. This is not just a snack; it is a masterclass in meat preservation and flavor concentration. Potted beef is a historic British staple that relies on the slow rendering of fats and the infusion of warm spices to create a shelf-stable, high-protein delicacy. It is rustic, it is sophisticated, and it is about to become your new culinary obsession. We are going to take humble cuts of beef and transform them into a spreadable gold that puts any store-bought pate to absolute shame. Grab your favorite apron and clear some space on the counter; we are diving deep into the science of the sear and the magic of the clarified butter seal.
The Gathers:
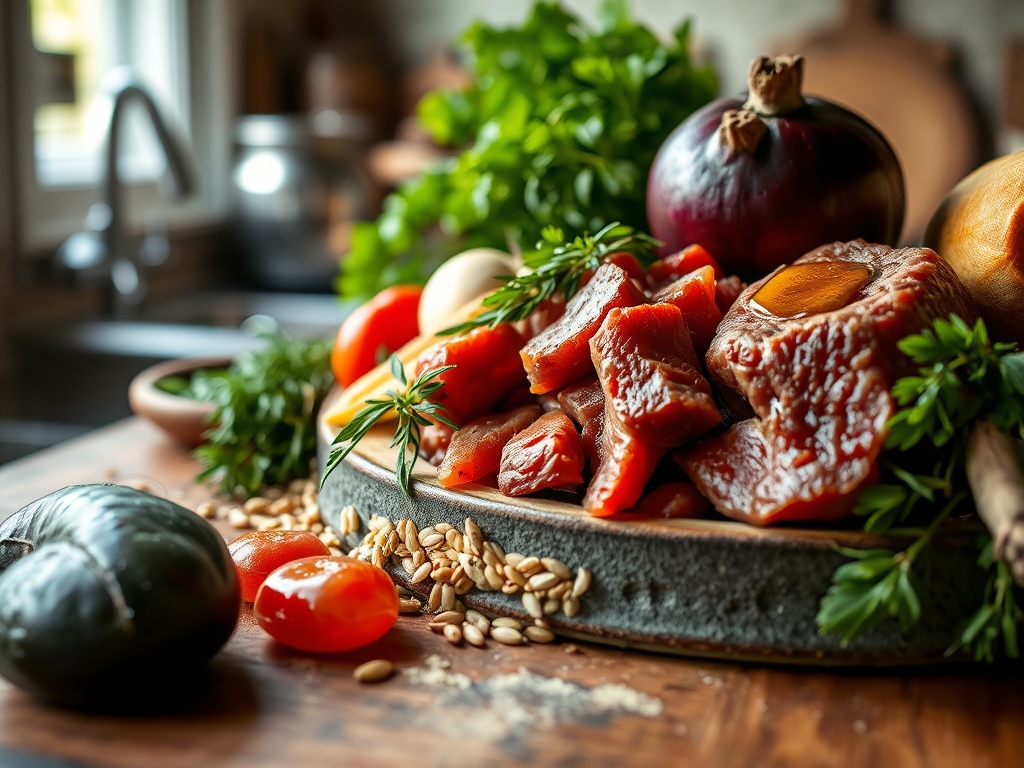
To achieve the perfect consistency, your mise-en-place must be precise. We start with two pounds of chuck roast or silverside, chosen for its high connective tissue content which provides the necessary gelatinous structure once broken down. You will need a high-quality digital scale to measure out 200 grams of unsalted grass-fed butter; this will be used for both the cooking process and the final airtight seal.
The aromatic profile relies on a piquant blend of ground mace, nutmeg, and white pepper. Use a microplane to grate your nutmeg fresh; the volatile oils dissipate quickly once ground, and freshness is non-negotiable here. For the liquid element, a splash of Worcestershire sauce and a tablespoon of beef bone broth provide the umami depth required to balance the richness of the lipids.
Smart Substitutions: If you are looking for a leaner profile, you can substitute 20 percent of the beef with venison, though you must increase the butter ratio to compensate for the lack of intramuscular fat. For a dairy-free version, refined coconut oil can mimic the saturation point of butter, though the flavor profile will shift toward a subtle sweetness.
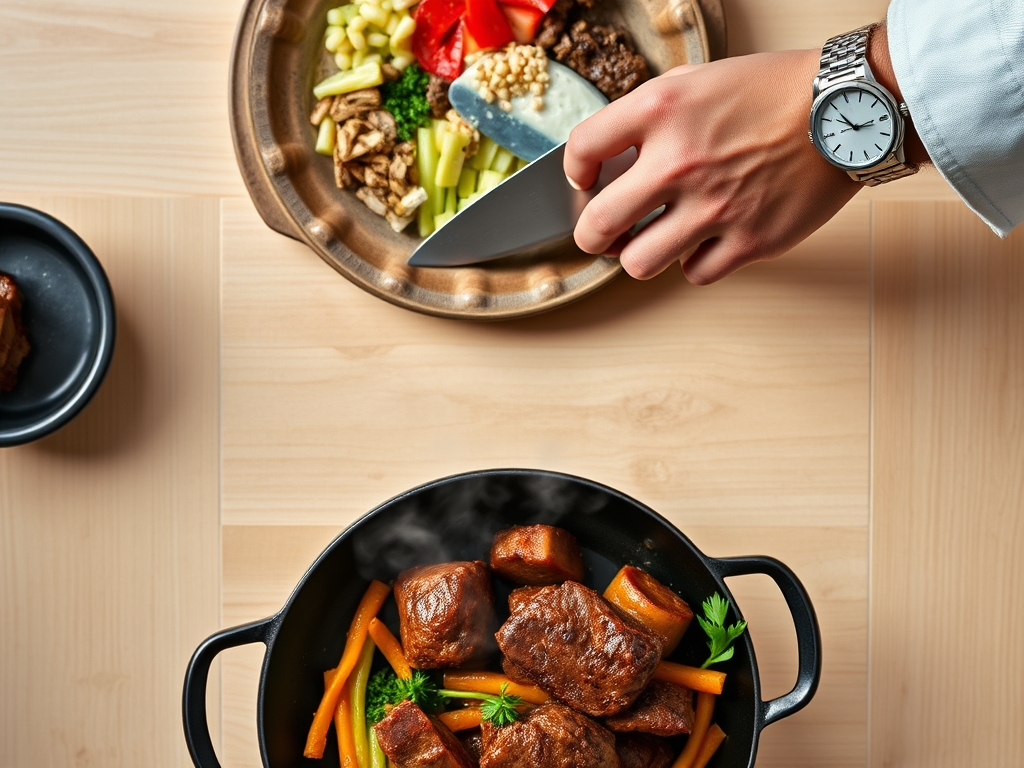
The Clock
Efficiency in the kitchen is all about the Chef's Flow. Expect about 30 minutes of active prep time, which includes trimming the silverside and calibrating your spice blend. The "low and slow" cooking phase requires 3 to 4 hours of passive time in a 300-degree Fahrenheit oven. This duration is essential for the hydrolysis of collagen, turning tough fibers into a tender, shreddable mass. Finally, allow at least 4 hours for the pots to set in the refrigerator. The total investment is roughly 8 hours from start to finish, making this an ideal weekend project.
The Masterclass
1. The Maillard Sear
Begin by patting your beef dry with paper towels. Use a heavy-bottomed skillet or a cast iron Dutch oven to sear the meat in small batches. Use tongs to turn the pieces, ensuring a deep mahogany crust forms on all sides.
Pro Tip: This is the Maillard Reaction in action. By browning the surface, you are creating hundreds of different flavor compounds that do not exist in raw meat. Do not crowd the pan, or the meat will steam in its own moisture rather than searing.
2. The Slow Braise
Place the seared beef into a saucier or small roasting pan. Add your spices and just enough beef broth to cover the bottom third of the meat. Cover tightly with foil or a heavy lid to prevent moisture loss.
Pro Tip: Maintaining a constant low temperature prevents protein denaturation from happening too quickly. Slow cooking allows the connective tissues to melt into gelatin, which creates a viscous mouthfeel in the finished spread.
3. Shredding and Aeration
Once the meat is fork-tender, remove it from the oven and let it rest for fifteen minutes. Use a bench scraper or two forks to shred the beef into fine filaments while it is still warm. Transfer the meat to a food processor.
Pro Tip: This step utilizes thermal carryover. Shredding while warm ensures the fibers separate easily before the gelatin begins to set. Pulse the processor to aerate the mixture, incorporating air to lighten the texture.
4. Emulsifying the Fats
Slowly stream in melted butter while the processor is running. You are looking for a smooth, homogenous paste. The mixture should look glossy and hold its shape when pressed with a spoon.
Pro Tip: This is a mechanical emulsification. The fats are being suspended within the meat fibers. If the mixture looks broken or oily, add a teaspoon of warm broth to help the fats and proteins bind together.
5. The Clarified Seal
Spoon the mixture into sterilized ceramic pots or glass jars, leaving a half-inch of headspace. Smooth the top with a small offset spatula. Pour a layer of clarified butter over the top until the beef is completely submerged.
Pro Tip: This butter layer creates an anaerobic environment, preventing oxidation and bacterial growth. It acts as a natural preservative, extending the shelf life of your potted beef recipes significantly.
6. The Curing Chill
Place the jars in the coldest part of your refrigerator. Resist the urge to dive in immediately; the flavors need time to marry and the fats need to fully solidify to reach the correct structural integrity.
Pro Tip: During the chilling process, the spices undergo infusion, moving from the fats into the meat fibers. A 24-hour rest period will yield a significantly more complex flavor profile than eating it immediately.
The Deep Dive
From a Macro Nutrition perspective, potted beef is a powerhouse of fat-soluble vitamins and high-quality protein. A standard serving is rich in Vitamin B12 and Zinc, though it is calorically dense due to the butter content.
Dietary Swaps: For Keto enthusiasts, this recipe is already nearly perfect; just ensure your Worcestershire sauce is sugar-free. For Gluten-Free diners, always check the label on your beef broth. Vegan alternatives are trickier, but a base of pressure-cooked brown lentils and walnuts processed with mushroom powder and coconut oil can mimic the texture surprisingly well.
The Fix-It: Common Pitfalls
- The Texture is Gritty: This happens if the meat was not cooked long enough to break down the collagen. Fix it by adding a tablespoon of warm heavy cream and re-processing.
- The Butter Layer Cracked: This is usually due to cooling the jars too quickly. To fix, melt the top layer with a kitchen torch or pour a fresh thin layer of warm butter over the cracks to reseal.
- Too Salty: If the final product is overwhelming, fold in some unsalted whipped butter or serve with unseasoned, neutral crackers to balance the palate.
Meal Prep and Reheating: To maintain "day-one" quality, never microwave the entire jar. The microwave causes the fats to separate and the meat to become rubbery. Instead, use a warm knife to scrape out a portion and let it come to room temperature naturally on the counter for twenty minutes before serving.
The Wrap-Up
Mastering potted beef recipes is like unlocking a secret level of culinary expertise. You have taken basic ingredients and used thermal dynamics and emulsification to create something truly artisanal. This spread is the ultimate "flex" for your next charcuterie board or a quiet midnight snack. Remember, the key is in the quality of your beef and the patience of your braise. Now that you have the secrets, go forth and pot some beef; your toast will thank you!
The Kitchen Table
Can I freeze potted beef?
Yes, you can freeze it for up to three months. Ensure the butter seal is intact and wrap the jar in plastic wrap to prevent freezer burn. Thaw slowly in the refrigerator for twenty-four hours before serving.
What is the best cut of meat to use?
Chuck roast, silverside, or brisket are ideal. These cuts contain the high levels of connective tissue and collagen necessary to create a spreadable, silky texture once the proteins are properly broken down through slow cooking.
How long does it stay fresh?
If the clarified butter seal remains unbroken, potted beef stays fresh in the refrigerator for up to two weeks. Once the seal is pierced, you should consume the contents within three to four days for optimal safety.
Why is my potted beef crumbly?
Crumbliness usually indicates a lack of fat or moisture. Ensure you are using the full amount of butter and a splash of broth during the processing stage to create a smooth, cohesive emulsion that holds together when spread.